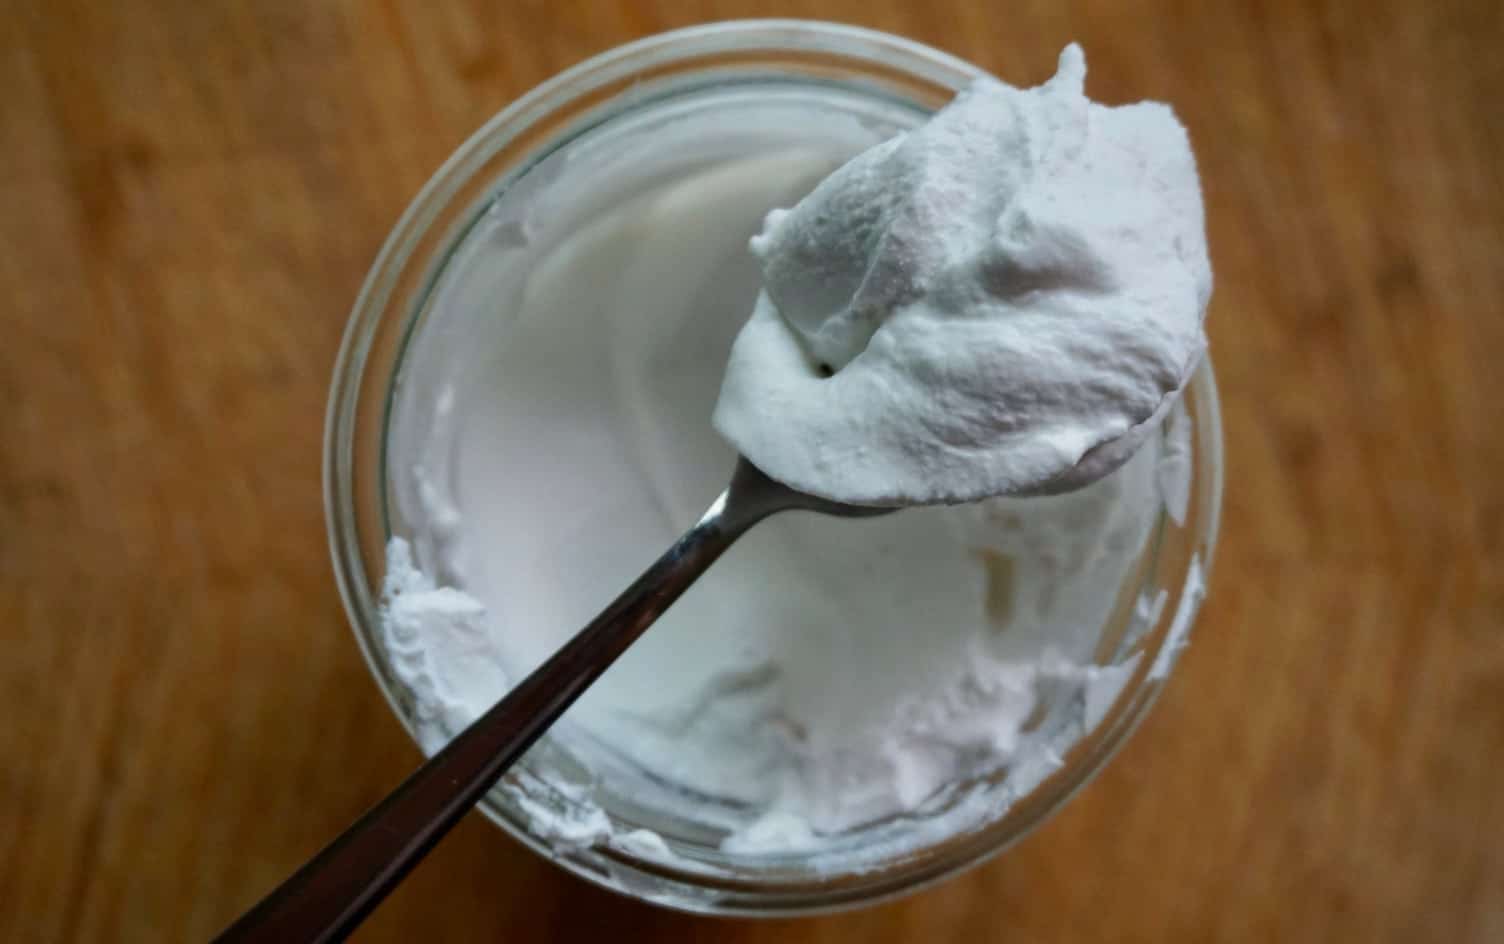
If you’re attempting to eat fewer dairy products or work more variety into your diet there’s some good news when it comes to yogurt. You don’t have to give in to goopy, gray, airy, flavorless dollops of alternative yogurts any more, because you can make creamy, two-ingredient coconut yogurt in your own kitchen (and you don’t even need a special gadget to pull it off) — even better, it’s good enough to give up dairy yogurt all together.
There are a few things to know about making your own yogurt at home. First, you’re fermenting coconut milk which means you’re encouraging good bacteria to grow. If your coconut yogurt turns funny colors, grows fuzz or smells odd, something has gone wrong in the process. Don’t eat it; throw it out immediately.
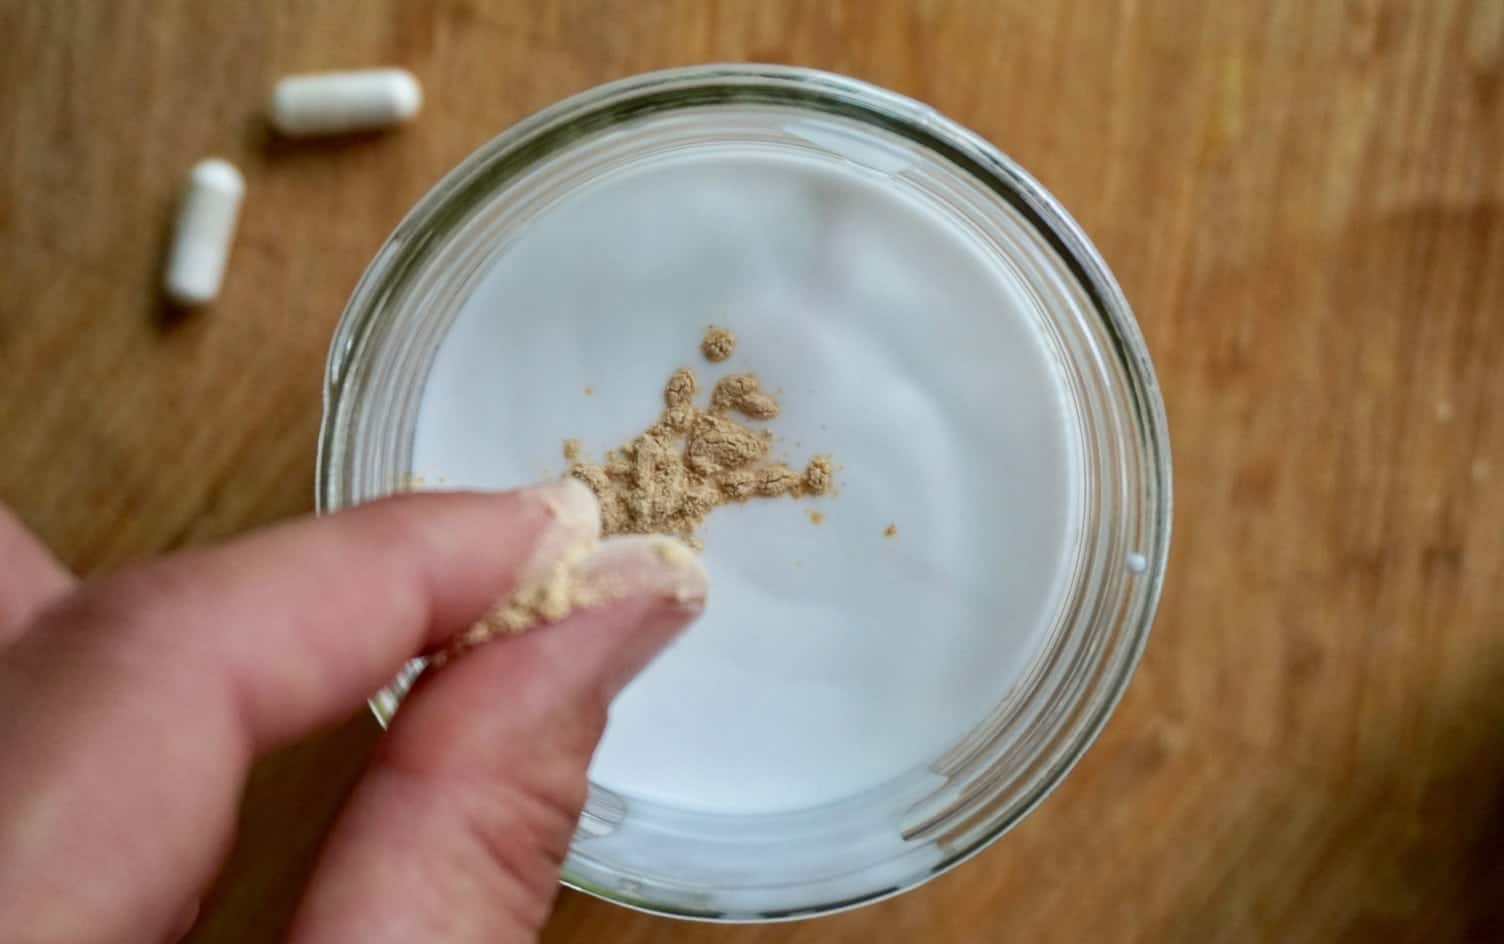
To get the fermentation going, you’ll add probiotic capsules to coconut milk. These can be shelf stable or of the refrigerated variety, but pay attention to the contents of your probiotic as not all probiotics are created equal. First, it’s important the probiotic does not contain prebiotics as this upsets the balance of the ferment. Second, many probiotic capsules contain dairy-based prebiotic strains, which would introduce dairy products into your yogurt. Ask for assistance when purchasing your probiotics and look for a vegan probiotic if this is important to you. Finally, use capsules and not pills, which need to be crushed.
When choosing a coconut milk to make your yogurt, just about any canned variety will do so choose whatever you like best. Some canned coconut milks contain guar gum which makes your coconut yogurt more creamy and smooth, but the yogurt is just as delicious even when it’s slightly less smooth and more chunky. However, refrigerated coconut milk (like that which you’d pour on cereal) will not work.
Two remaining things: If you want your yogurt to be extra thick, place two layers of cheesecloth over a fine mesh sieve, then set it over a large mixing bowl and carefully pour in your yogurt. Then, loosely cover the top with a lid or plastic wrap and refrigerate. Allow the yogurt to drain for several hours until the desired thickness has been reached.
When you do eat your yogurt, it should taste tangy, not spoiled.
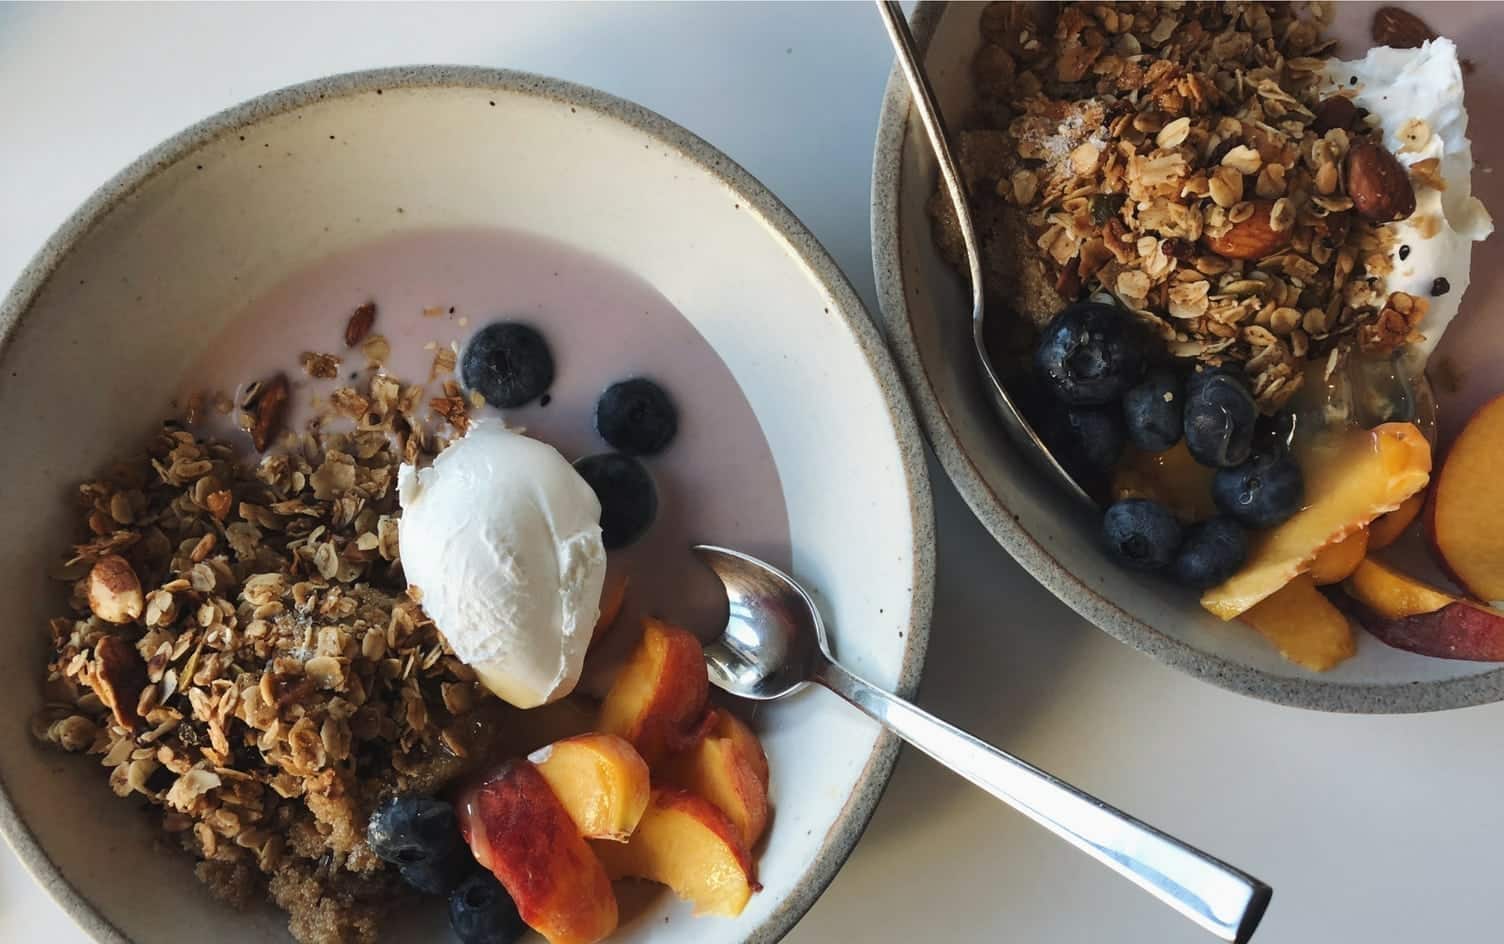
CREAMY COCONUT YOGURT
Ingredients
- 1 14-ounce can full-fat coconut milk
- 2 capsules vegan-friendly probiotic*
Directions
Shake your coconut milk well. Then open the cans and pour into a clean, sterilized, dry glass jar or bowl. You can easily sterilize clean jars by rinsing thoroughly with boiling water and letting dry completely. Then allow the jars to cool to room temperature before adding ingredients. If the coconut milk is separated, stir with a whisk to get it completely smooth.
Empty your probiotic capsules into the milk and use a wooden or plastic spoon to stir (a metal spoon can react negatively to the probiotics) until creamy and smooth, pushing the probiotic up against the side with your spoon to evenly disperse.
Cover the mixture with cheesecloth (you want to let air in, but keep contamination out) and secure with a rubber band. Let the yogurt activate for 24–48 hours (if you want an extra tangy, thick yogurt you might let it go longer). Yogurt will do best in warmer climates or in environments that are 75°F (24ºC) or above. If your house is colder, place the yogurt in the oven with the light on but the oven off, where it should have the right amount of heat to activate.
When your yogurt has reached the right amount of tanginess and thickness for your liking (be sure to sample with a wooden spoon), cover securely with a lid and refrigerate. Refrigerating will thicken the yogurt even more, almost to a Greek yogurt consistency, but if you’re looking for an even thicker yogurt, follow the directions for straining above; let rest in the refrigerator overnight or up to 12+ hours. .
Enjoy your coconut yogurt topped with berries, drizzled with honey or maple syrup or worked into any other place yogurt belongs in your meals. (Used as a whipped cream alternative on shortcake, served up with granola …) Yogurt can be stored covered in the refrigerator up to one week.
Serves: 6 | Serving Size: 1/4 cup
Nutrition (per serving): Calories: 187; Total Fat: 19g; Saturated Fat: 16g; Monounsaturated Fat: 0g; Cholesterol: 0mg; Sodium: 12mg; Carbohydrate: 7g; Dietary Fiber: 0g; Sugar: 2g; Protein: 0g
