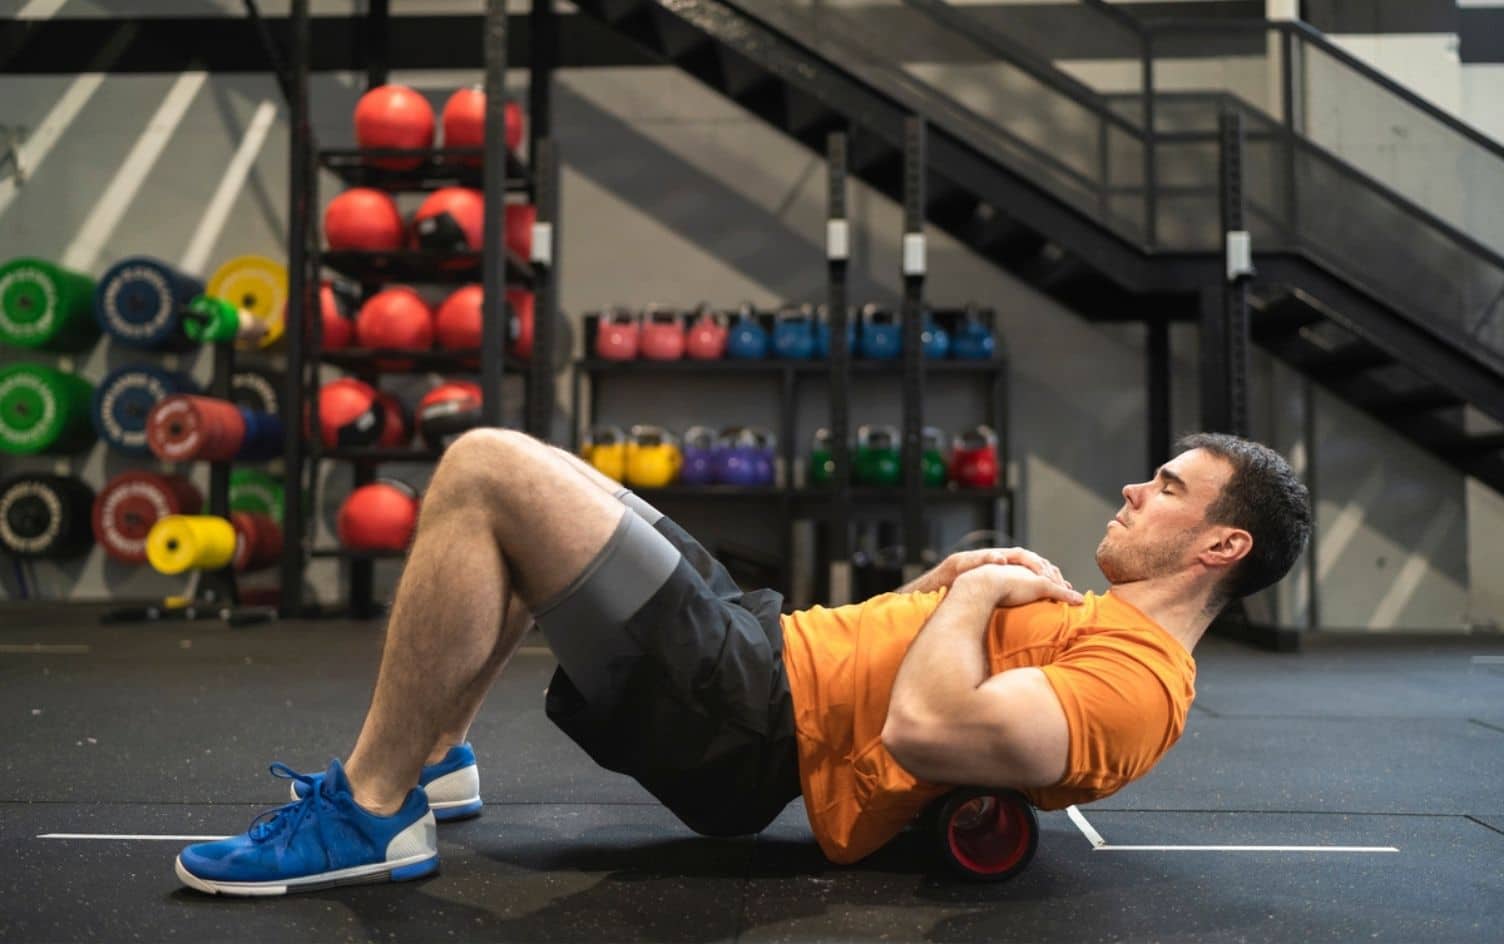
Many of us have a foam roller somewhere — neatly tucked away in a closet, propped up in the corner of the bedroom or gathering dust bunnies under the sofa. I challenge you to get it out and sit on it. The foam roller can be your best friend and arguably your most important friend as you hit the pavement or the gym, preparing for your next run or workout. I use the foam roller with many of my clients both before and after a workout to help identify adhesions or imbalances in the muscles, soft tissue and fascia. Think of it as your way of checking in with your body and warming up and hydrating your muscles and fascia before your workout.
Here are my top five exercises to do on the roller before your workout to get the most out of your training. You can also do these after your routine as a way to cool down:

1. Quadriceps
Start with both legs on the roller and your elbows on the floor. Start slowly rolling up and down the muscle tissue, using your arms to stabilize and roll yourself up and down the roller. If you locate a spot that is tender, don’t antagonize it by staying for too long. Take a deep breath and allow your muscles to relax into the roller, then continue rolling up and down.
2. TFL/Lateral Quad
Your Tensor Fascia Latae is a small muscle near the outer hip, and one main duty of this muscle is to stabilize the hip and pelvis. You will need to position the foam roller to the outside of the hip, so rolling one leg at a time may be easier. Start with rolling at the top of the hip then roll to the lateral (outside) part of your quadriceps complex. Position the roller up toward your hip and roll down toward the knee.
3. Gluteus Medius/Maximus
Sit on the roller and cross one leg over the other. Roll up to the gluteus medius of the leg that is crossed on top. Remember to gently roll up and down the muscles.
4. Calves (Gastrocnemius and Soleus)
You can start with both legs on the roller or cross one on top of the other. You can use your hands to lift your hips gently off the floor and roll up and down your calf muscle. You can also keep your hips on the floor and position the roller just below your gastrocnemius, on your soleus, and do ankle circles to the right and left.
5. Upper Back (between your Scapula)
Start with making sure your head and neck are supported with your hands; position the roller in the middle of your back, making sure to not roll toward your lower ribs. Lift your hips off the floor and use your feet to roll your body up and down the roller, gently rolling from your mid-back to upper back between your scapula (shoulder blades).
6. Snow Angels (Pectoralis Major/Minor and Anterior Deltoid)
Sit on the very end of the roller and roll down along your spine. Make sure your head is resting on the roller. Bend your knees so your feet are stable on the floor to help you balance. Open your arms up to a T position with your palms facing up to the ceiling. Start to reach your arms overhead and then down toward your hips in a slow, sweeping motion.
What? No Iliotibial Band?
Your IT band attaches at your hip and down at your knee. Its main duty is to stabilize the knee. Rolling the IT band can be very uncomfortable, and rolling it may not yield many results. The IT band is a pretty thick and strong band of connective tissue that may not be released by techniques such as foam rolling.
Start with one leg and focus on foam rolling other muscles surrounding the IT band such as the TFL and Gluteus Medius first.
As a general tip remember, you are rolling soft tissue (muscles, fascia, fat, connective tissue etc.), not bones or joints. Don’t roll too quickly or stay on a spot that is tender for too long.


