Every year feels like a fresh start, and that goes double for 2021. We are all hoping for some big changes this year, so let’s focus on what we can control and spice up our workouts. If you haven’t heard of 21s, in honor of 2021, we are introducing this set configuration to you. They are most commonly used in biceps curls, however, they can be a great change of pace for almost any exercise.
HOW 21S WORK
At its core, it’s 21 reps divided into 3 sets of 7 reps. The first 7 reps are partials focusing on the first half of the range of motion, from start to midpoint. The second 7 reps are another set of partials, exploring the second half, from midpoint to ending. For the final 7 repetitions, the exercise is completed in its entirety. For bicep curls, you’d start with a straight arm, up to 90 degrees for the first 7, then from 90 degrees to fully flexed for the second 7 and the full move for the final set.
THE BENEFITS OF 21S
During the first 7 partial reps, you are at a slight mechanical disadvantage, also known as the “sticking point.” It’s great to start here as you will have more energy in your muscles to get through the most challenging part of the movement. By exploring each “end zone” of an exercise, you increase your understanding of form and proper range of motion by the time you reach those final 7 reps. For further benefit, 21 training also increases the focus on the eccentric contraction (great for muscle development) and muscular endurance through time under tension.
Important note: Due to the high volume of these sets and exercises, you’ll need to use lighter weights. Like anything new, start light and safe, and build as you gain confidence.
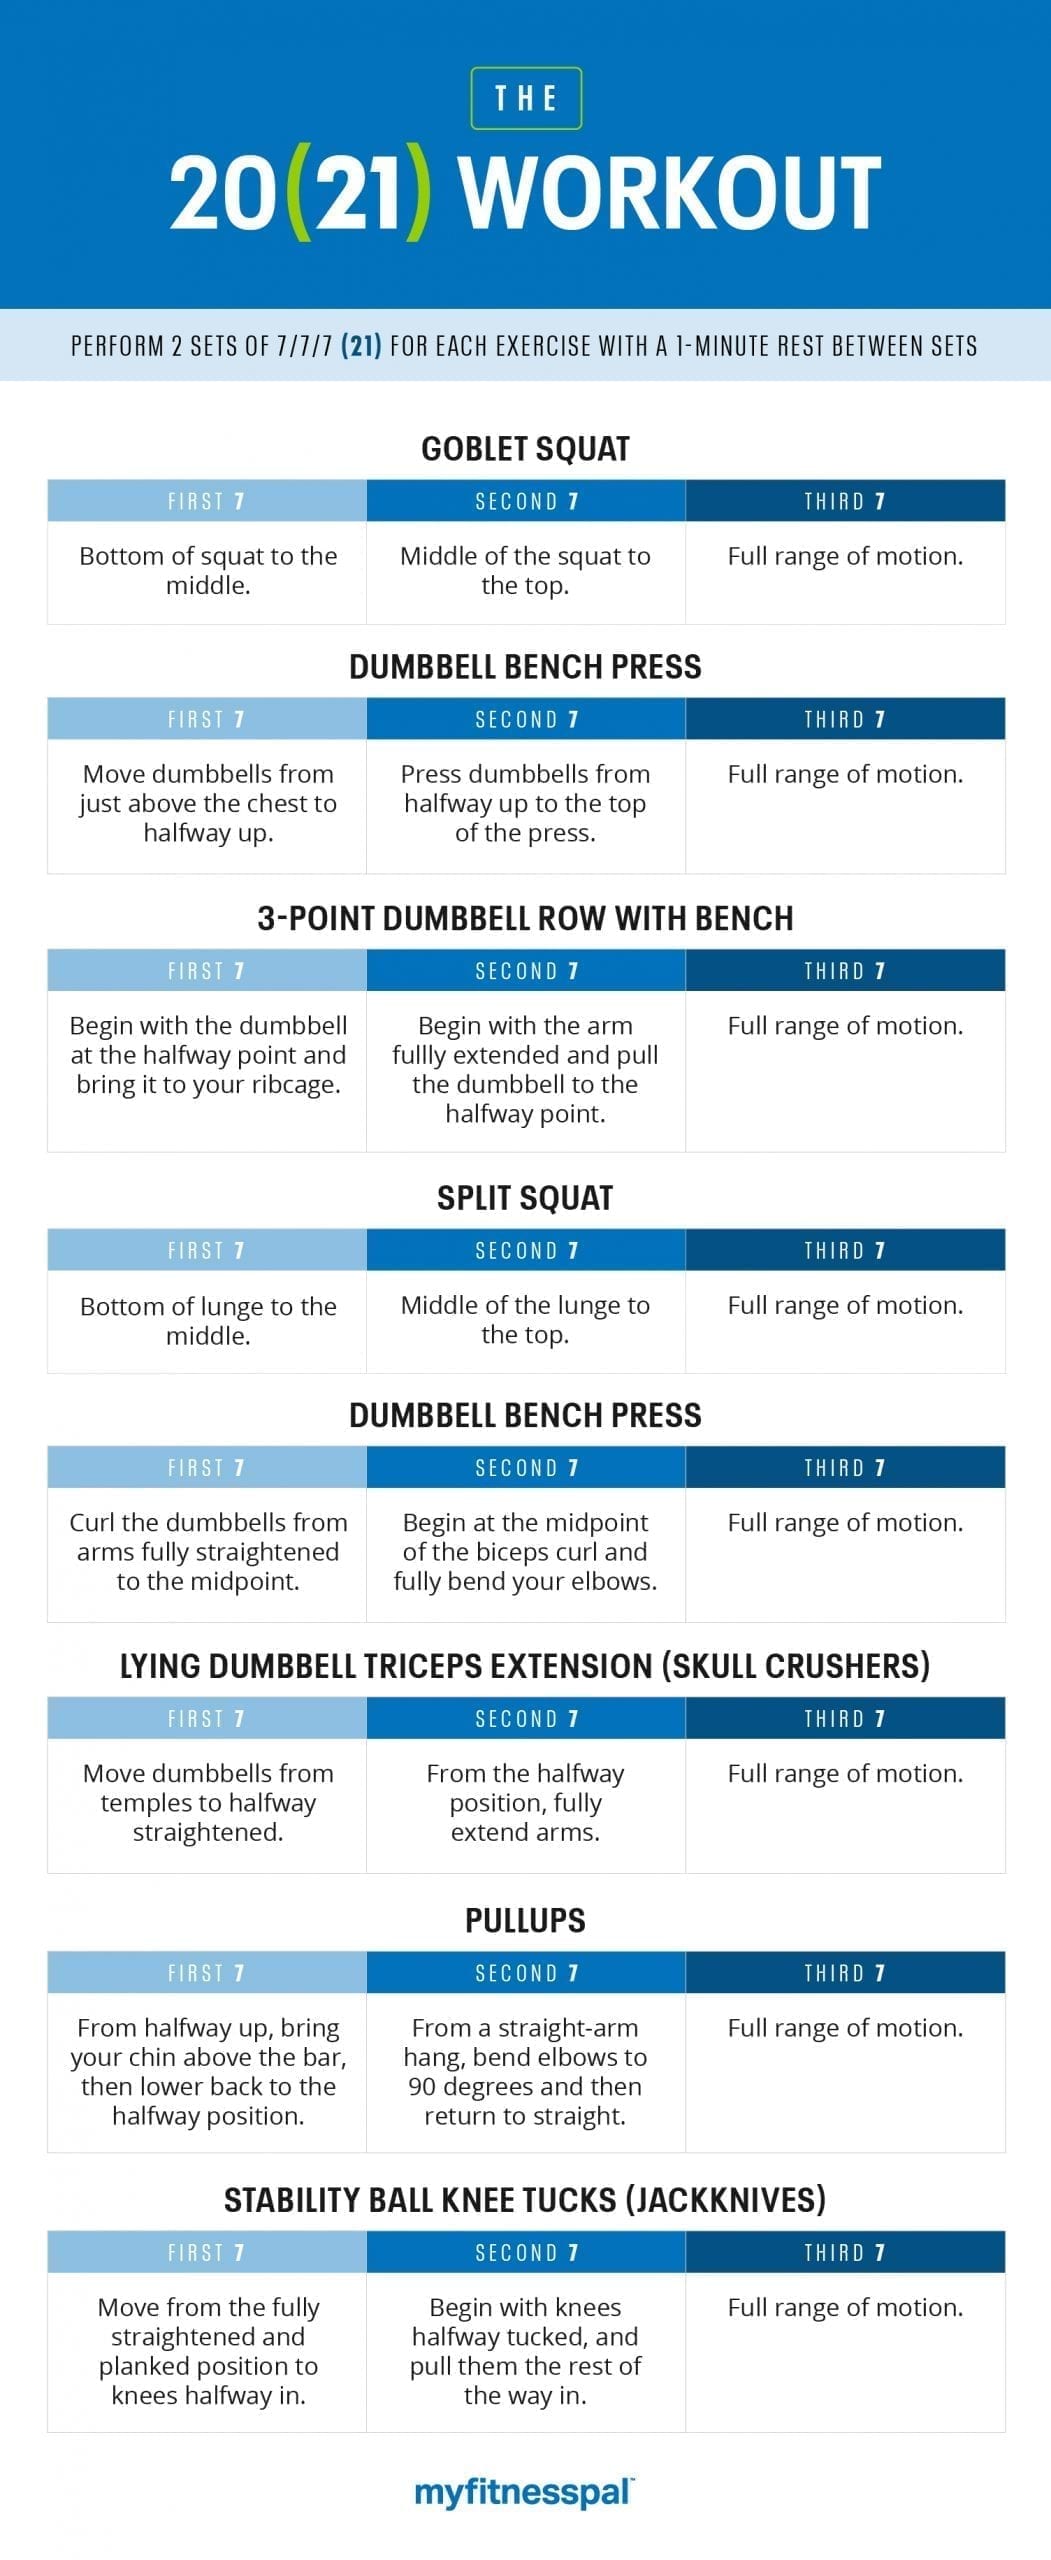
THE EXERCISES
GOBLET SQUAT
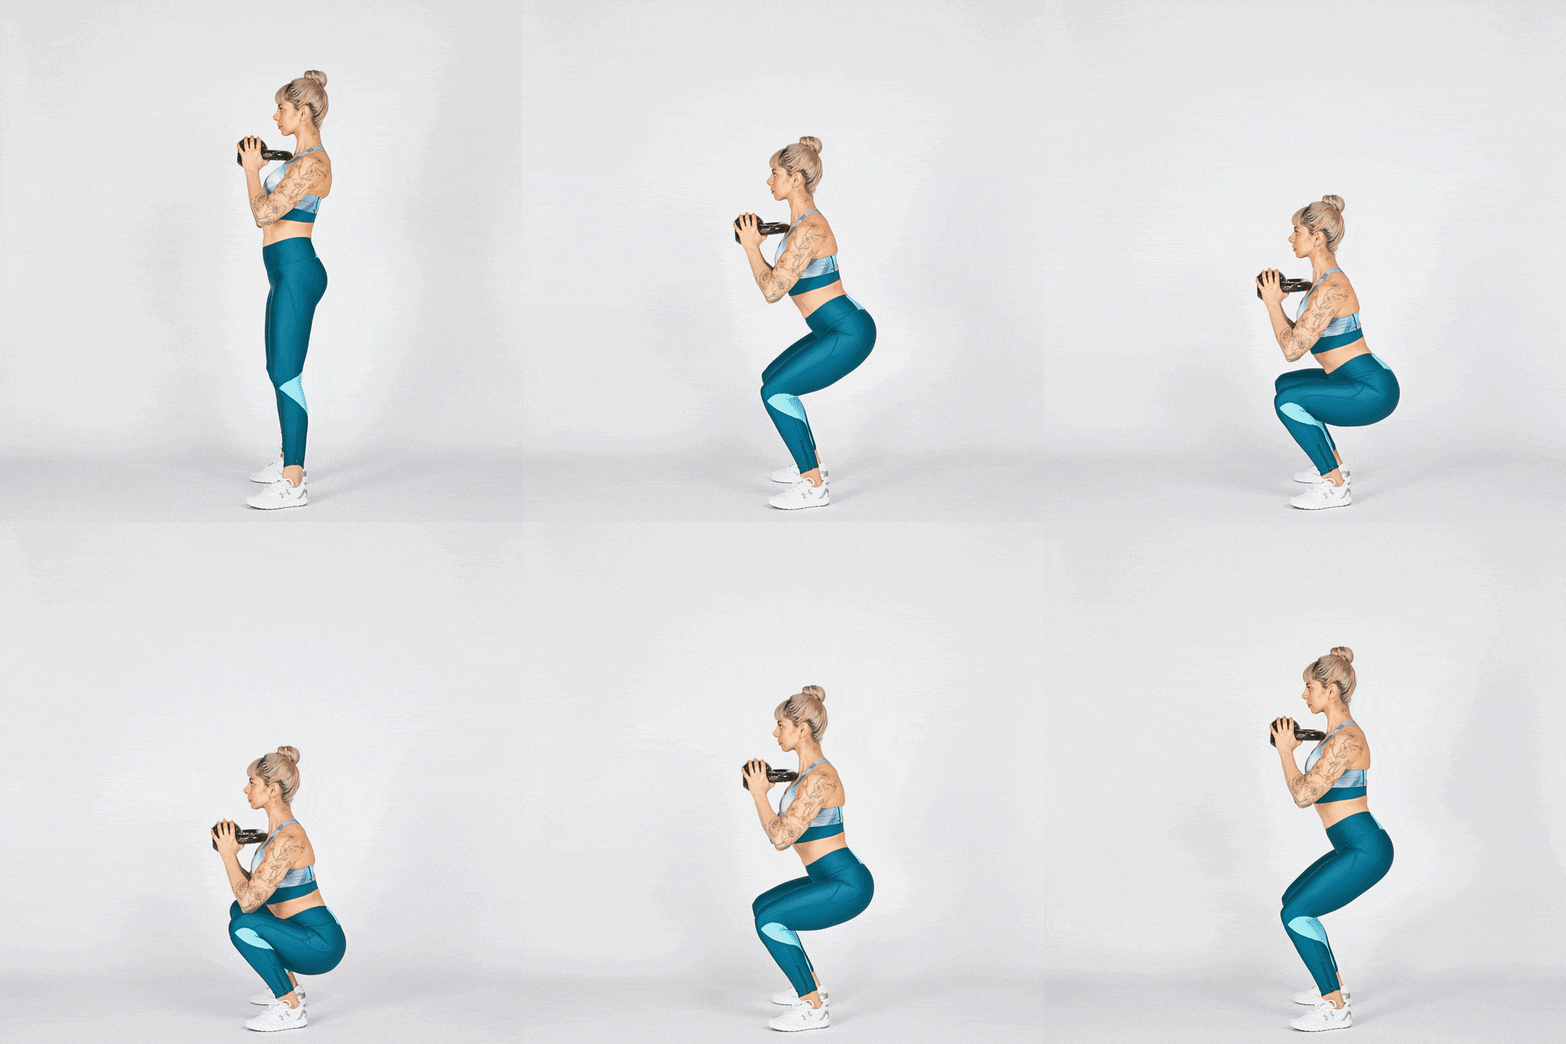
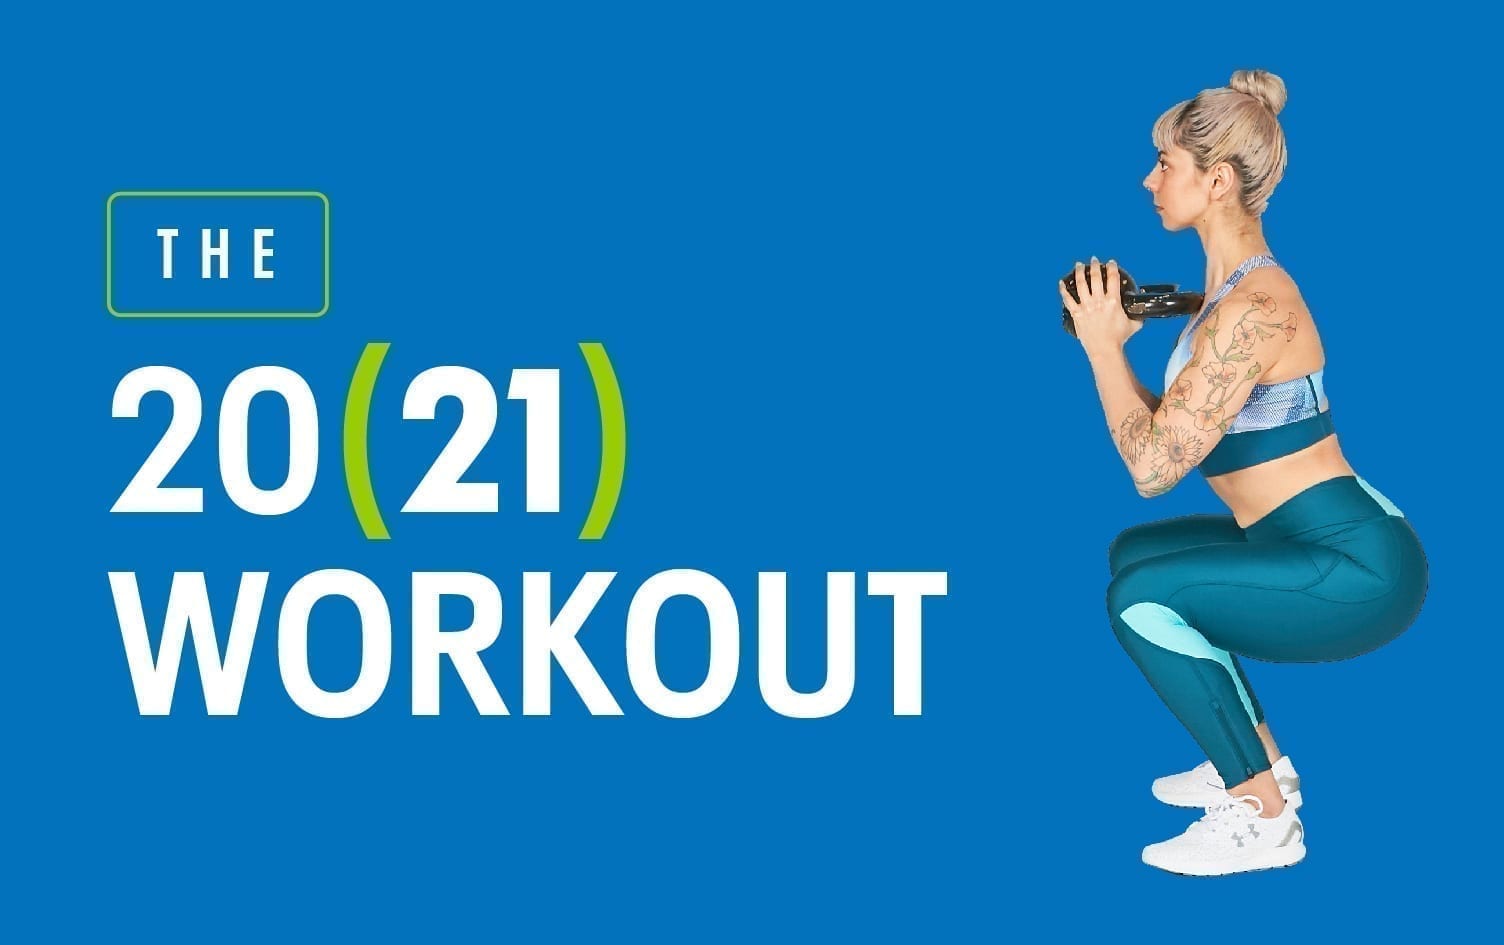
The move: Hold a dumbbell vertical by one end up against your chest. Your feet should be a little wider than shoulder-width apart and toes turned out slightly (the less mobile your hips, the more the toes will need to turn out). Drop your hips straight down with your chest open and shoulders anchored down and back. Pretend you are separating the floor with your feet and engage your glutes as you power back up to the starting position.
DUMBBELL BENCH PRESS
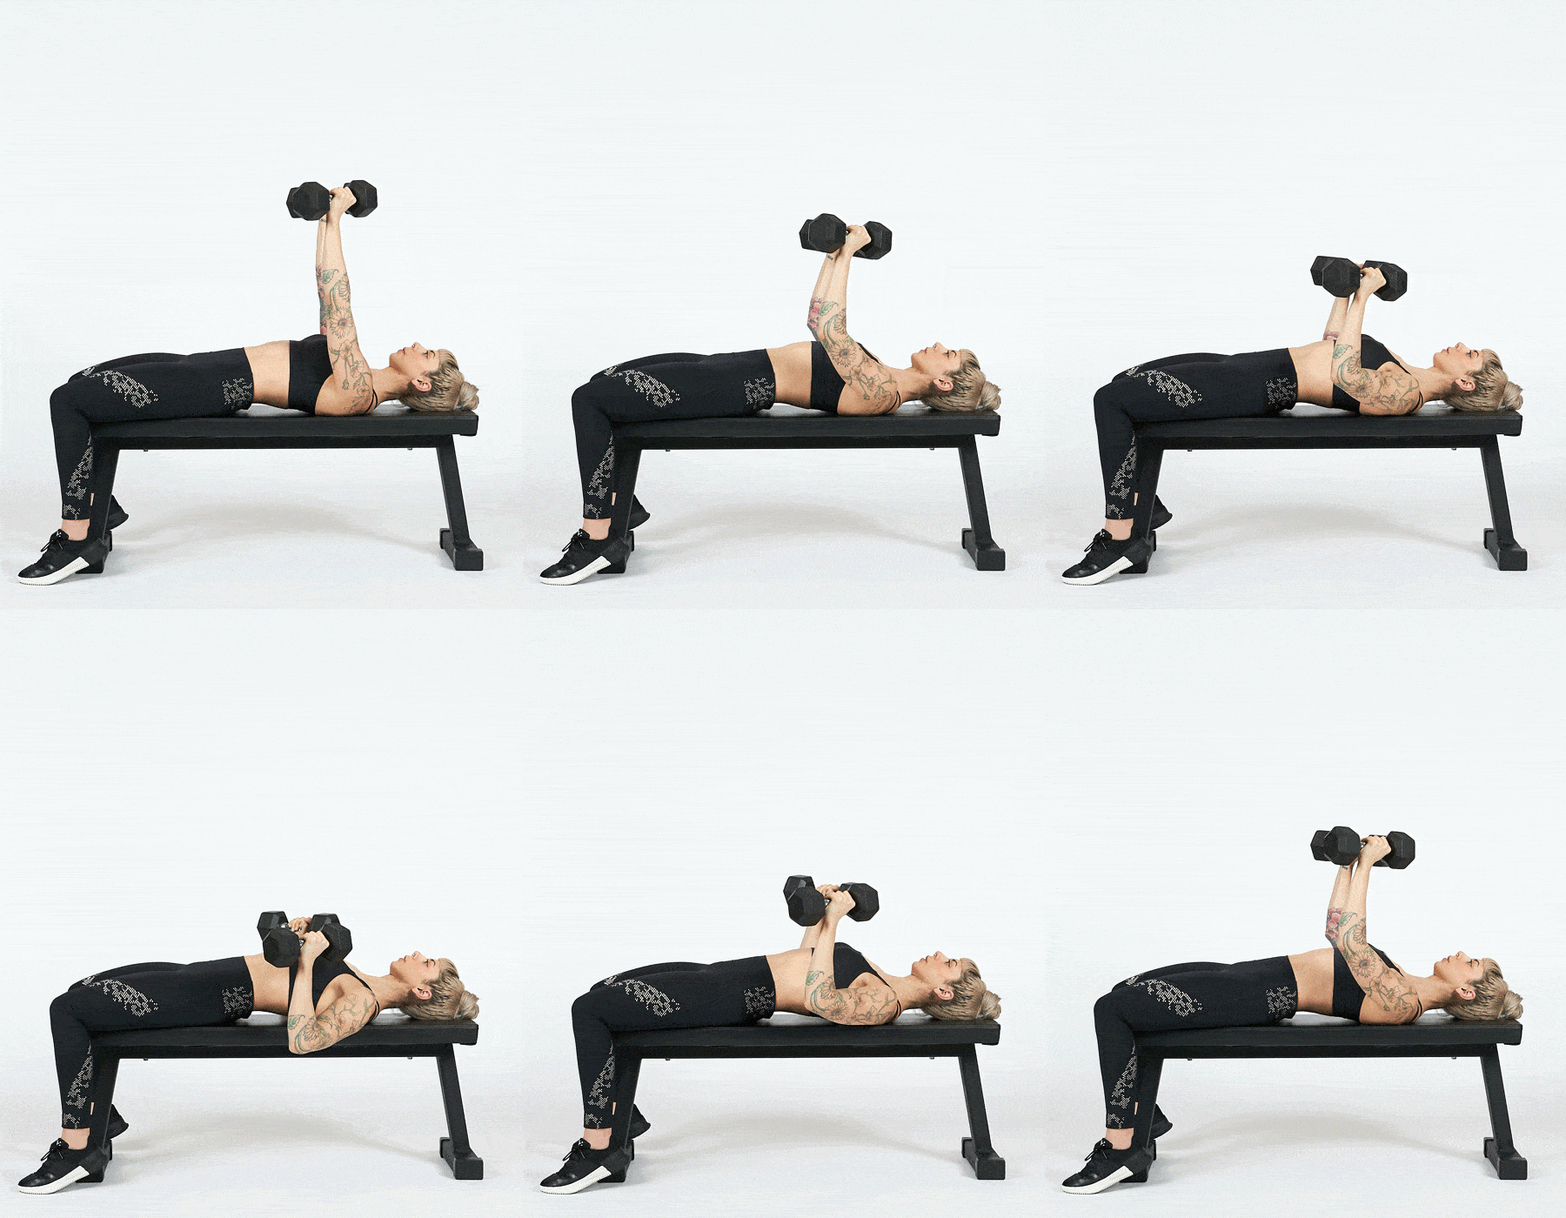
The move: Grab two dumbbells and safely lay on a bench or the ground. Press both bells up toward the ceiling, then lower them down, stopping with the dumbbells about an inch above your chest.
3-POINT DUMBBELL ROW WITH BENCH
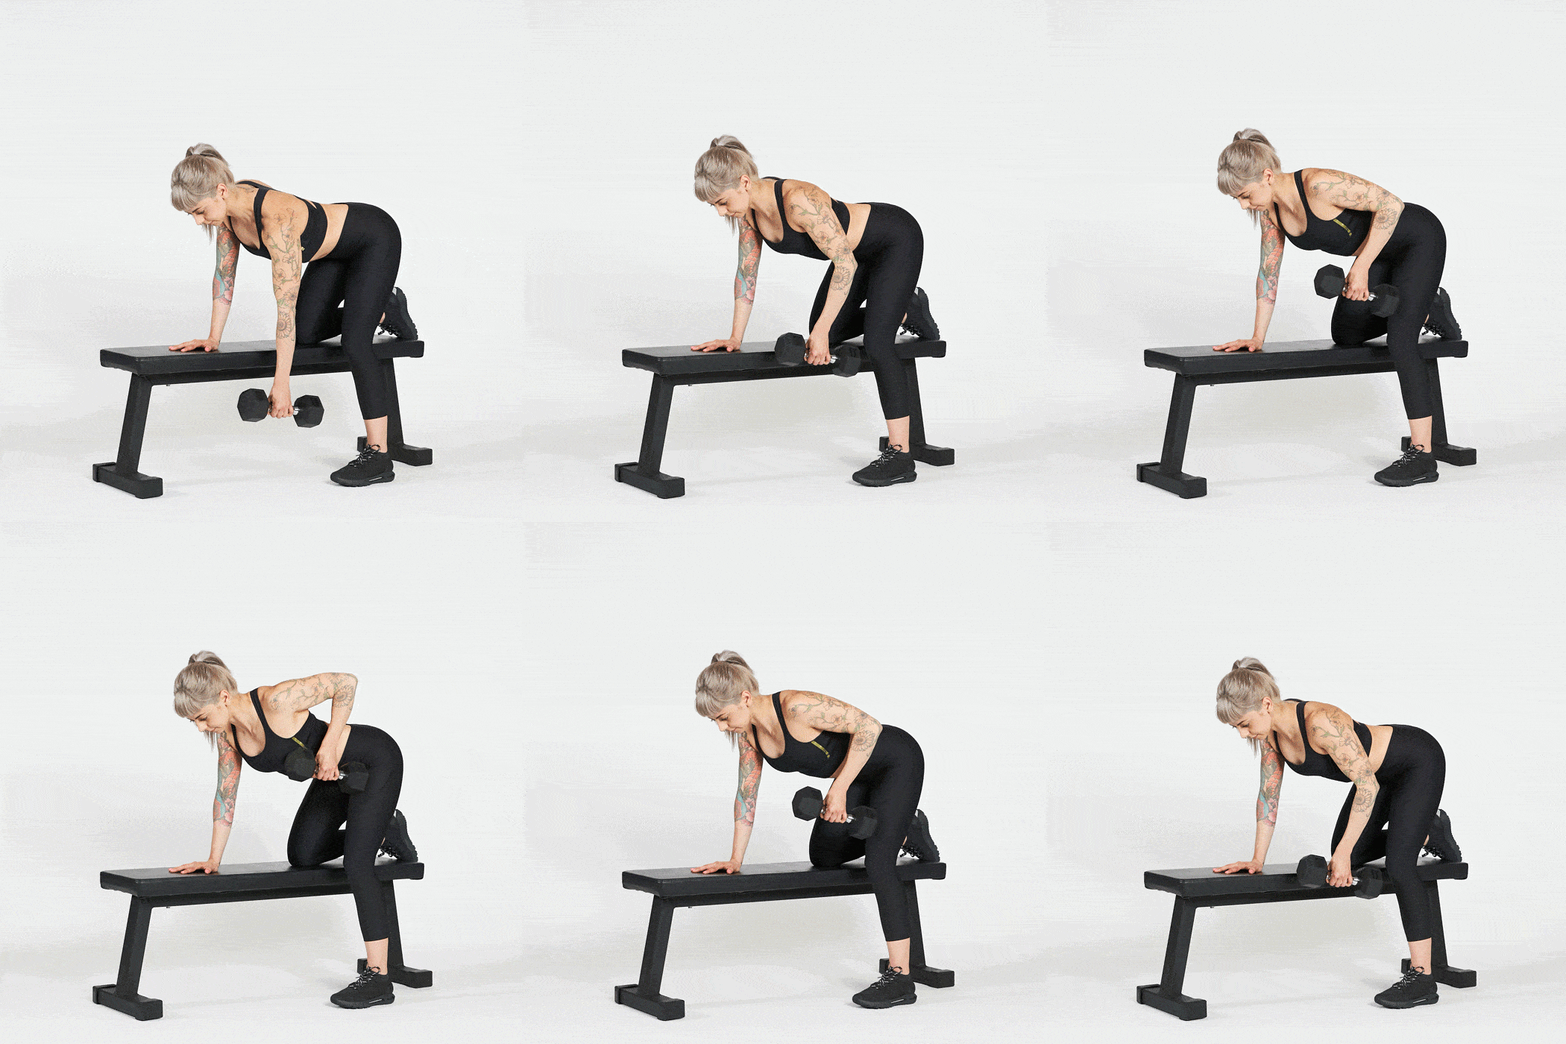
The move: While holding a dumbbell in your left hand, position your right hand and right knee on a bench or table with your left foot planted firmly on the ground. Ensure the spine is flat. Engage behind the left shoulder blade and lift the dumbbell up to your ribcage. Lower slowly and repeat.
SPLIT SQUAT
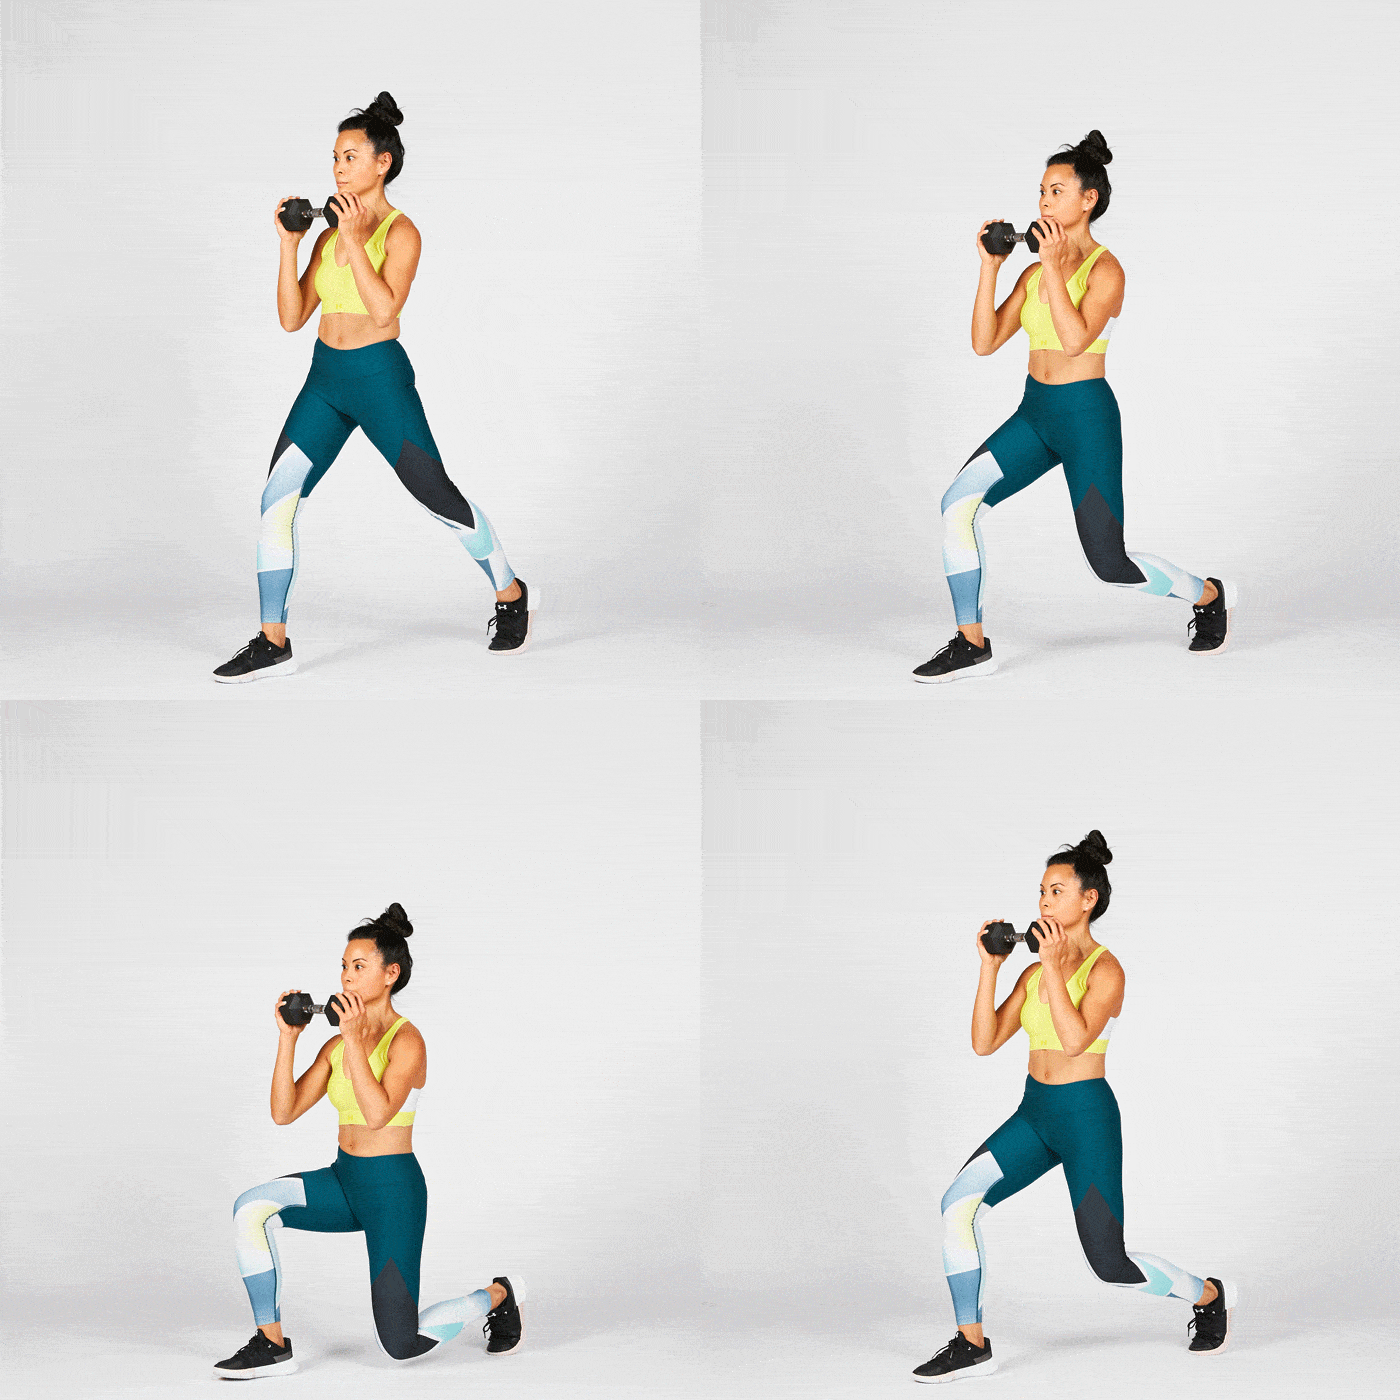
The move: Begin in a split stance with about a foot of space laterally between your left and right foot. Holding the dumbbells in your hands, maintain a strong, solid posture. Bend both knees to 90 degrees, engage the glutes, and press up off of the floor.
DUMBBELL HAMMER CURLS
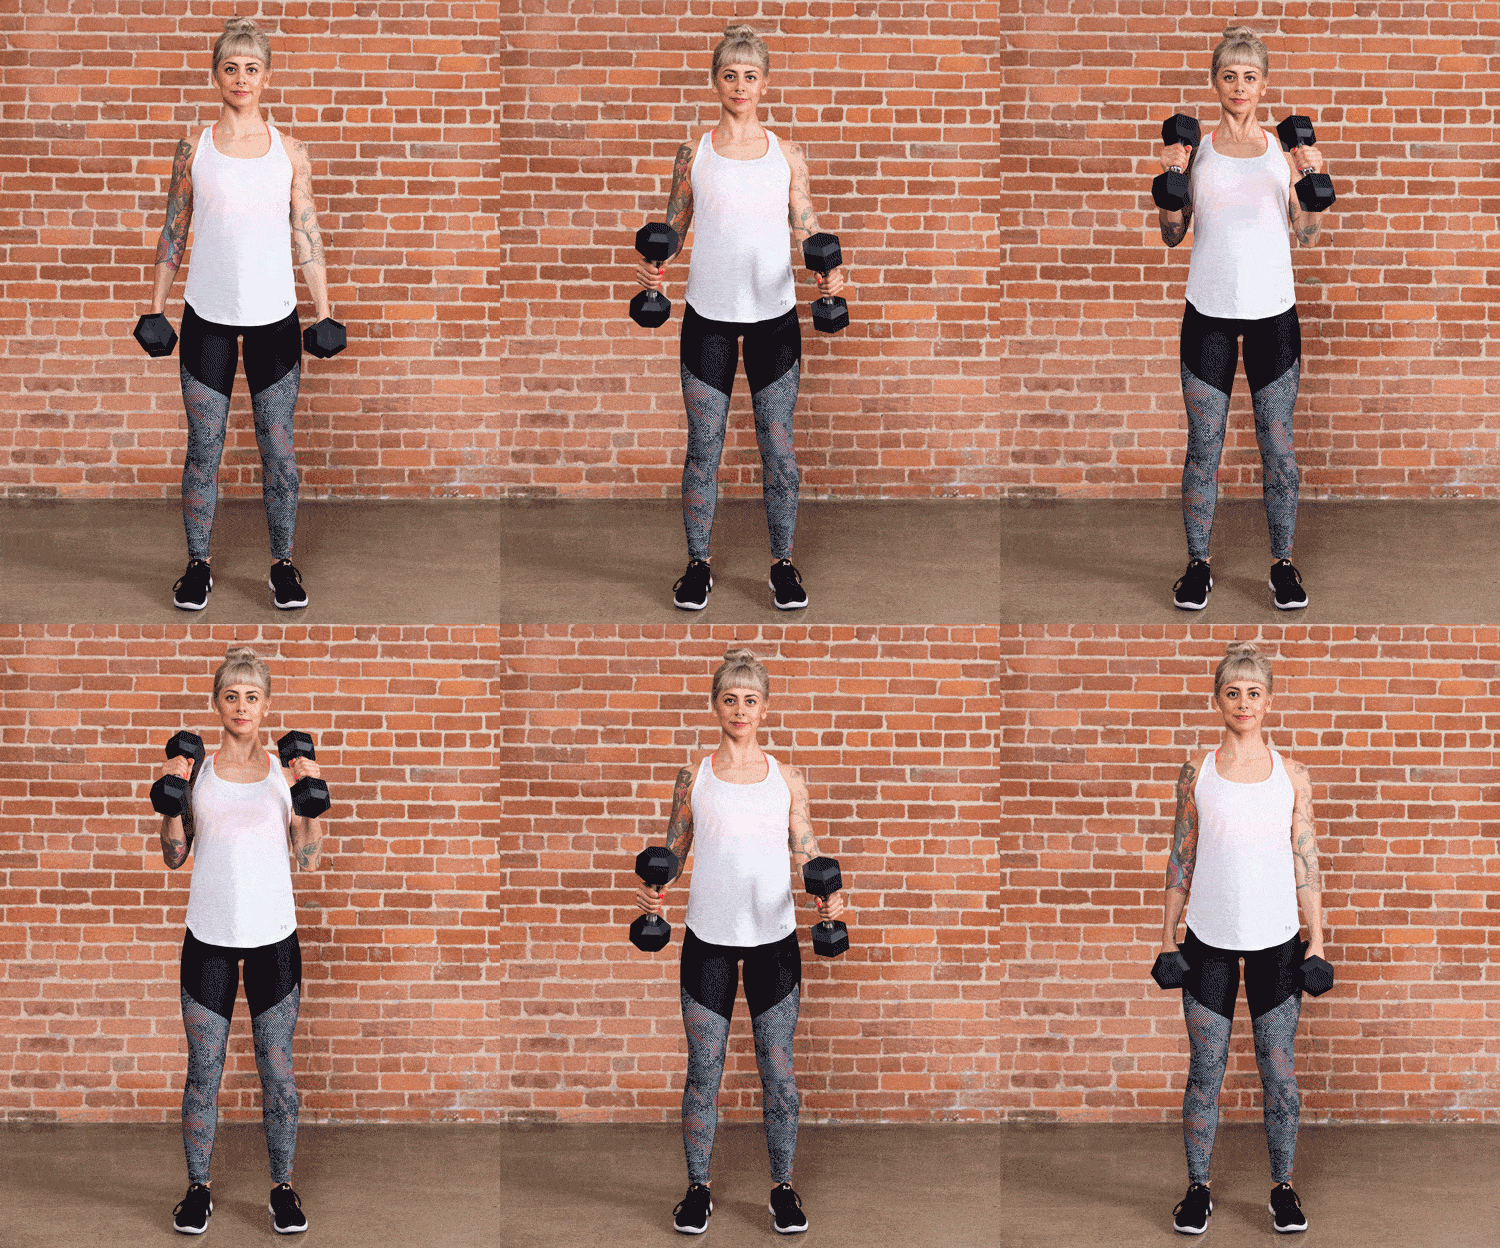
The move: With dumbbells in each hand, begin with arms hanging down by your sides and palms facing your thighs. With fists stacked and core braced, bend your elbows and raise the thumb side of your hands toward your shoulders. Lower and repeat.
LYING DUMBBELL TRICEPS EXTENSION (SKULL CRUSHERS)
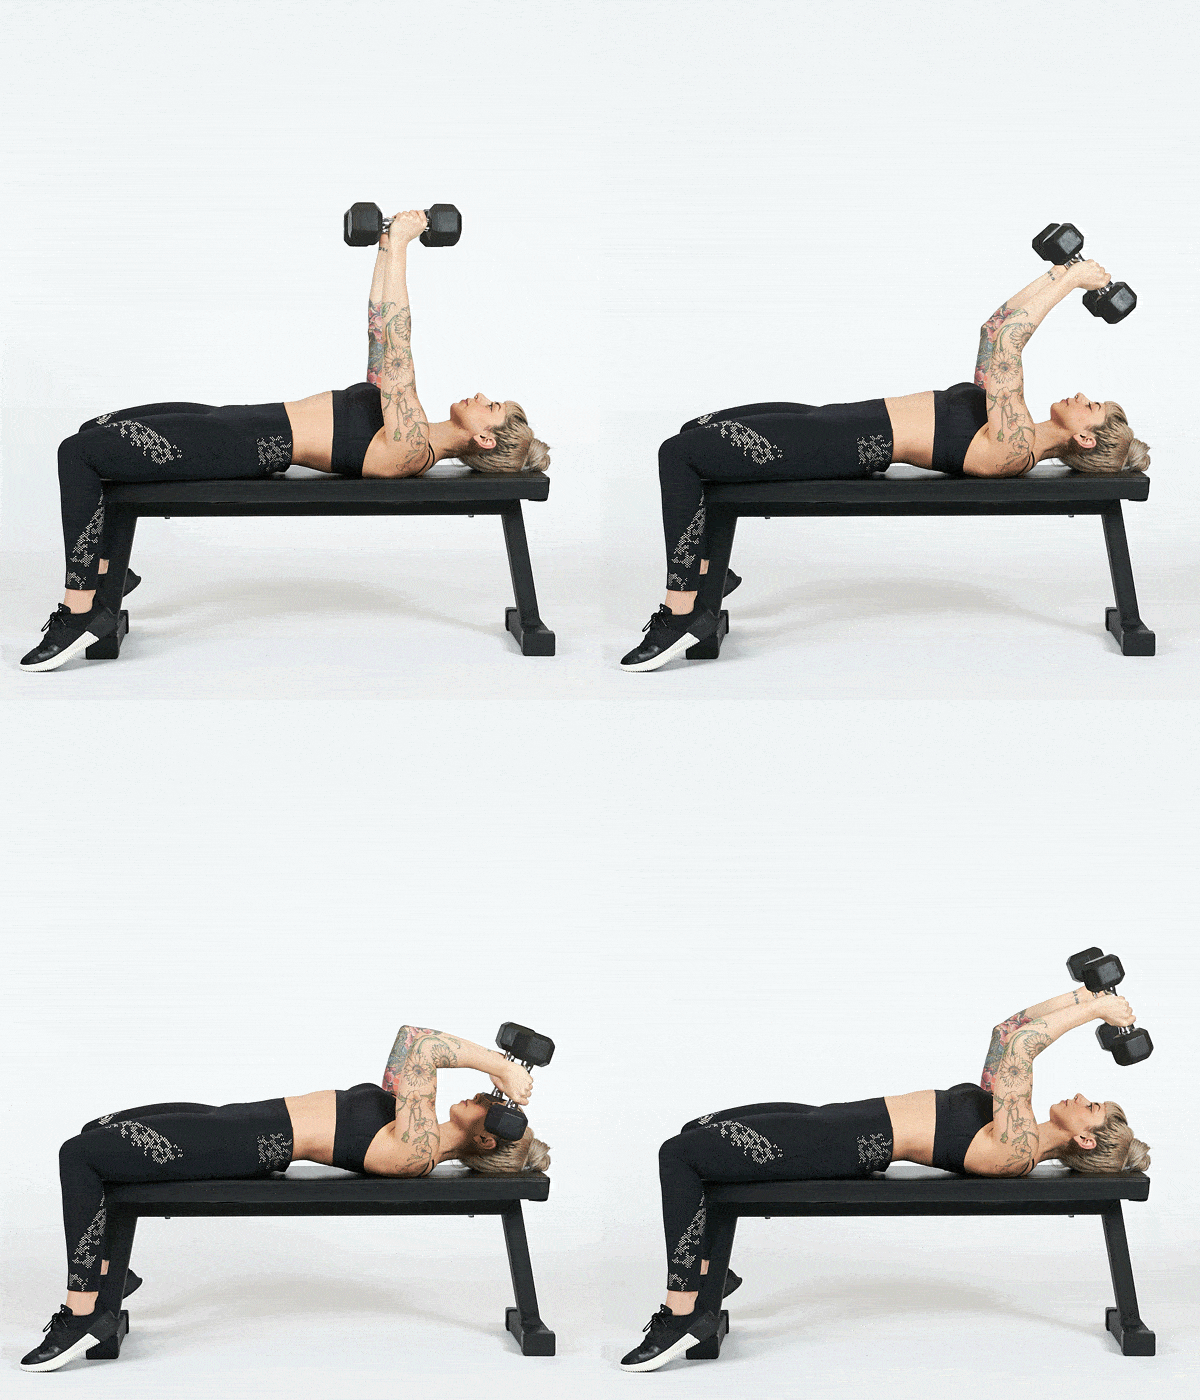
The move: Begin by lying on the ground or on a bench, a dumbbell in each hand, and arms extended directly overhead. Bending at the elbows, lower the dumbbells toward your temples and return to the starting position.
PULLUPS
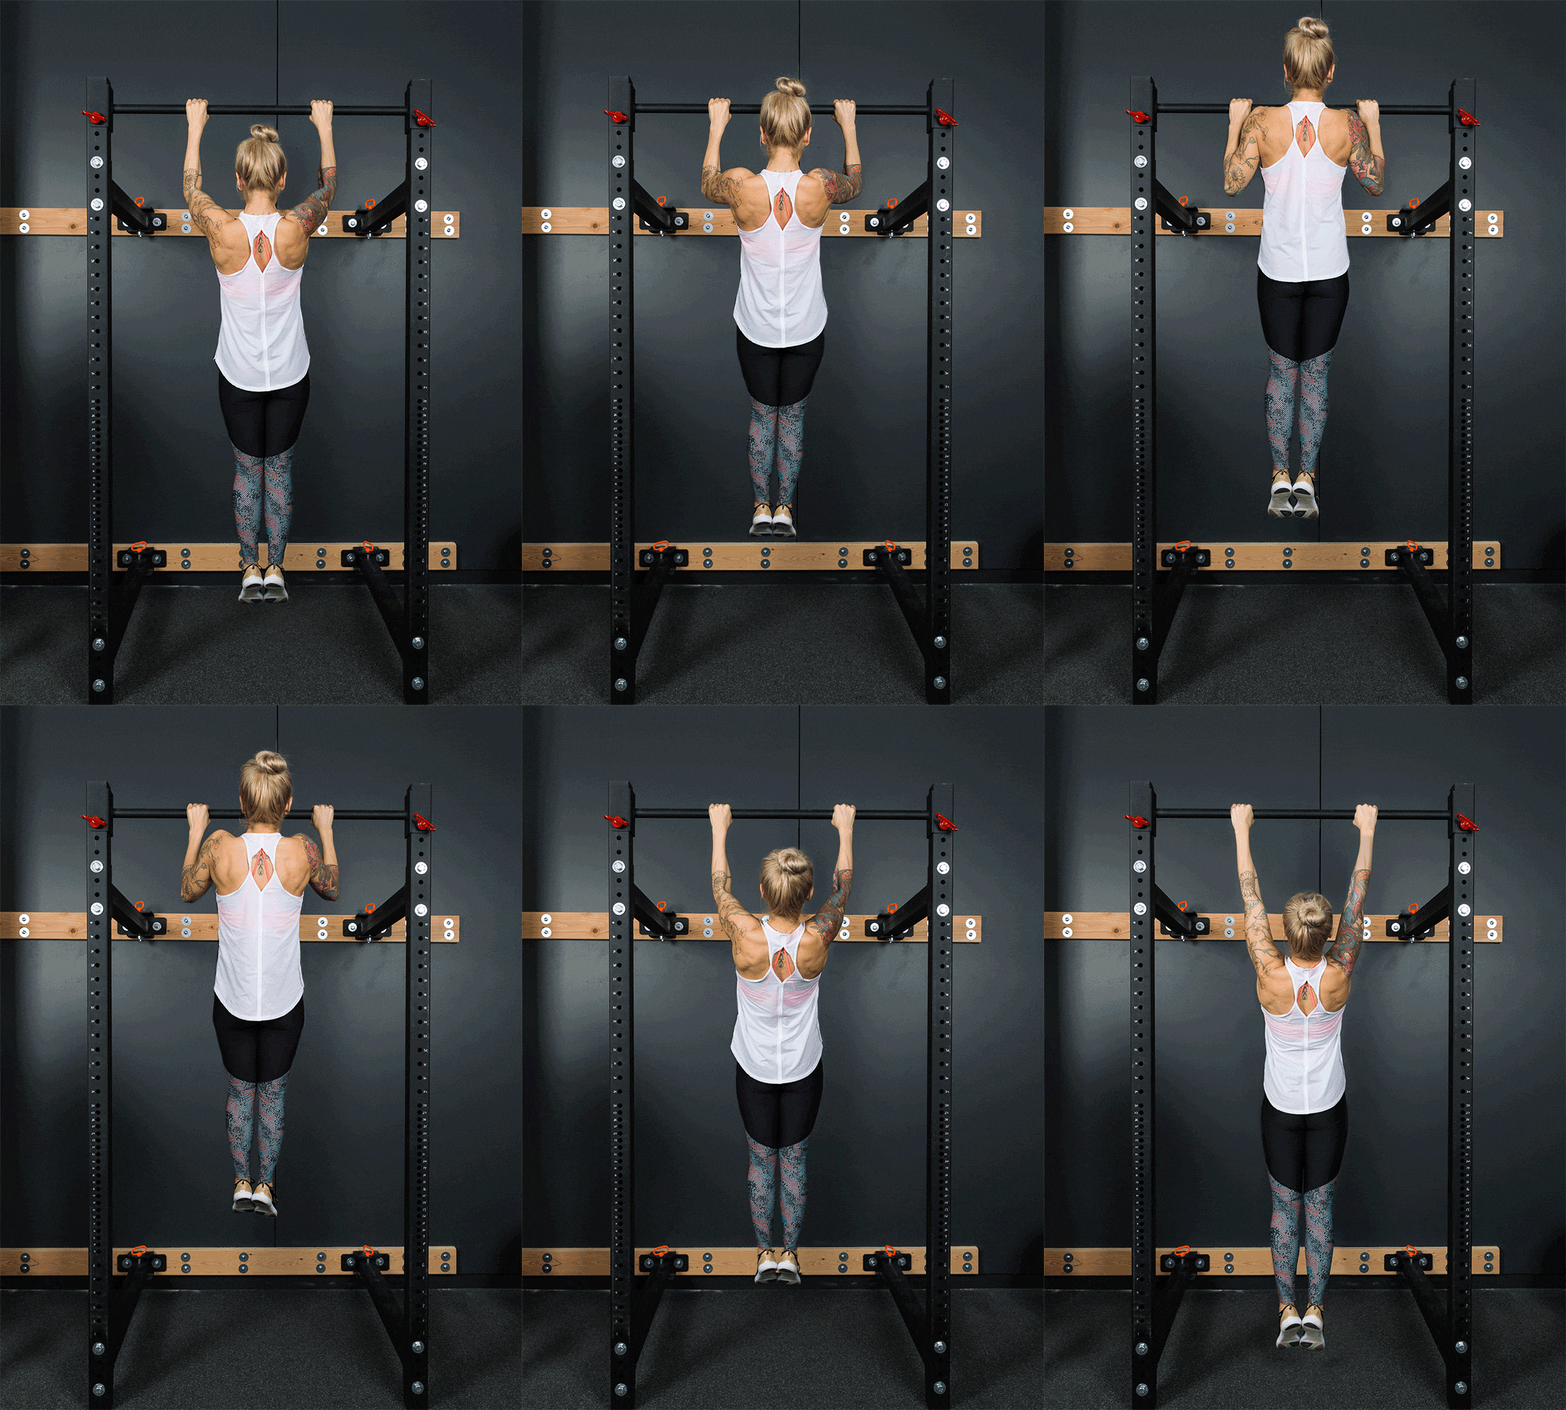
The move: Begin by hanging from a bar or assisted pullup machine with an overhand grip. With the body staying in a strong plank position, pull your chin above your hands, and then lower down to the starting position with control.
STABILITY BALL KNEE TUCKS (JACKKNIVES)
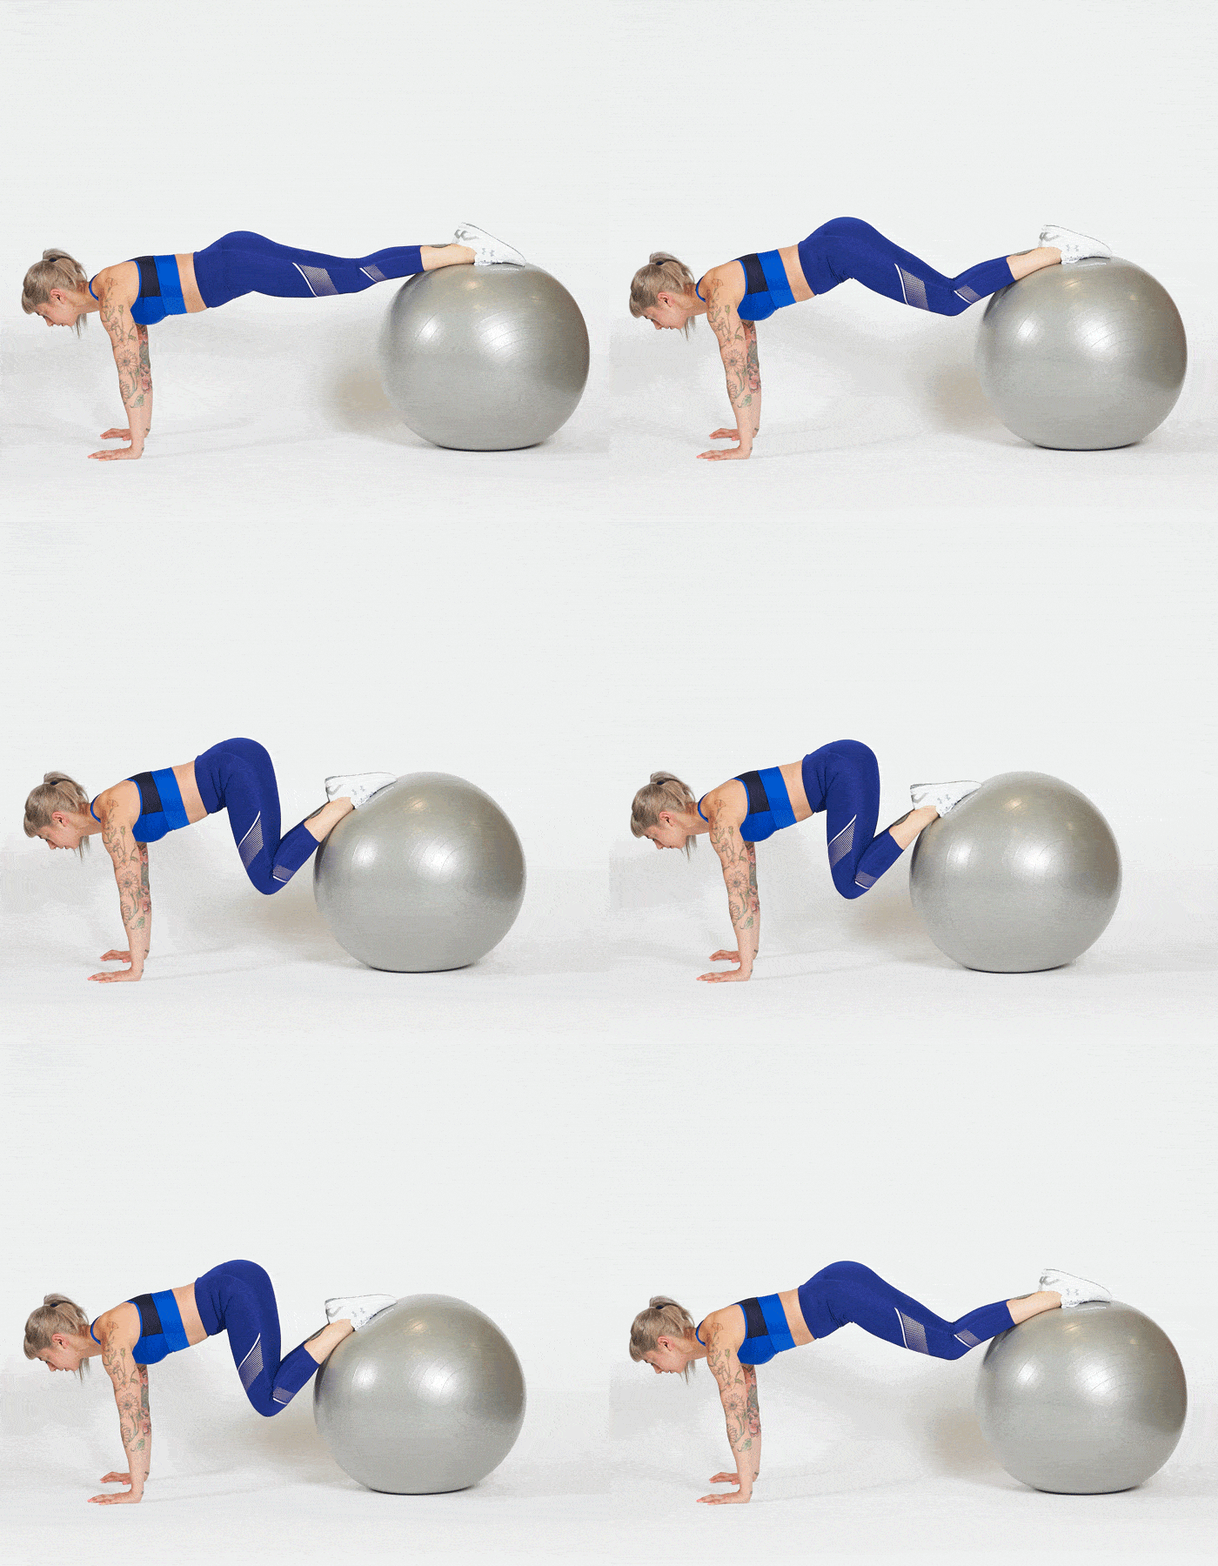
The move: Place the stability ball at your shins, hands on the floor, and press up into a strong and straight plank position. Ensure the hips never sag, as this can lead to back pain. Simultaneously pressing into the floor with your hands and onto the ball with your shins, tuck both knees into your chest and return to the plank position. Your hips should elevate slightly during this movement.
Check out “Workout Routines” in the MyFitnessPal app to discover and log workouts or build your own with exercises that fit your goals.
