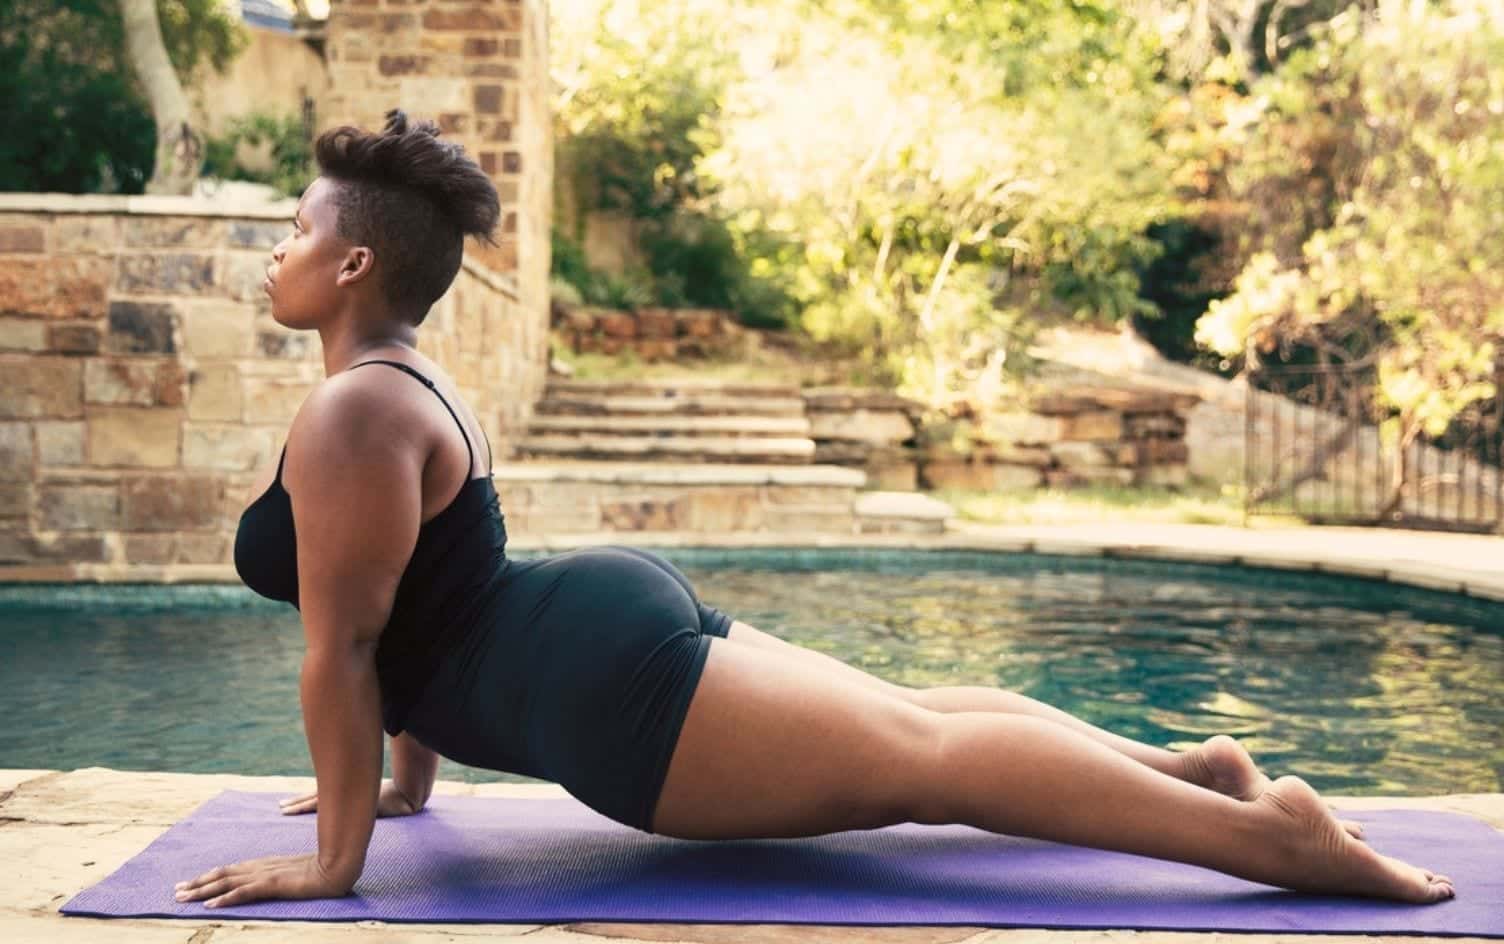
When you get into yoga, it can be tempting to place a lot of importance on those twisty, bendy, inverted balancing poses. But what many people don’t realize is that mastering the basics is actually where most of the positive effects of yoga come from.
“The biggest benefits of yoga flow from the simplest of poses when we merge the body’s movement with the breath,” explains Namita Kulkarni, a yoga teacher. “Our achievement-obsessed culture has us chasing after the tougher poses as evidence of skill and athletic prowess, and underestimating the importance of the more common and simple poses.”
Part of the problem is that often, we don’t realize just how challenging it is to grasp the basic poses. “To ‘master’ a pose is to stay in it with ease and stability, the breath flowing without any strain,” Kulkarni says. “And the point of asana is to integrate body, breath and mind. Practicing the simpler poses lays a solid foundation for this integration to happen and stay with you off the mat.”
Also, if you want to eventually make it to those more difficult poses, understanding basics is essential. “An advanced pose, such as an arm balance or inversion, cannot be executed correctly or safely without a thorough understanding of where the body is in space and how it is moving in space,” says Amanda Upton, a registered yoga teacher and founder of Brave New Yoga. “When we practice poses such as downward-facing dog and triangle, we develop awareness of our body parts, including how they connect to one another and where they are placed in a pose.”
The thing is, many of these common yoga poses are the trickiest to get right. Here, expert yoga teachers share their tips for mastering the basics.
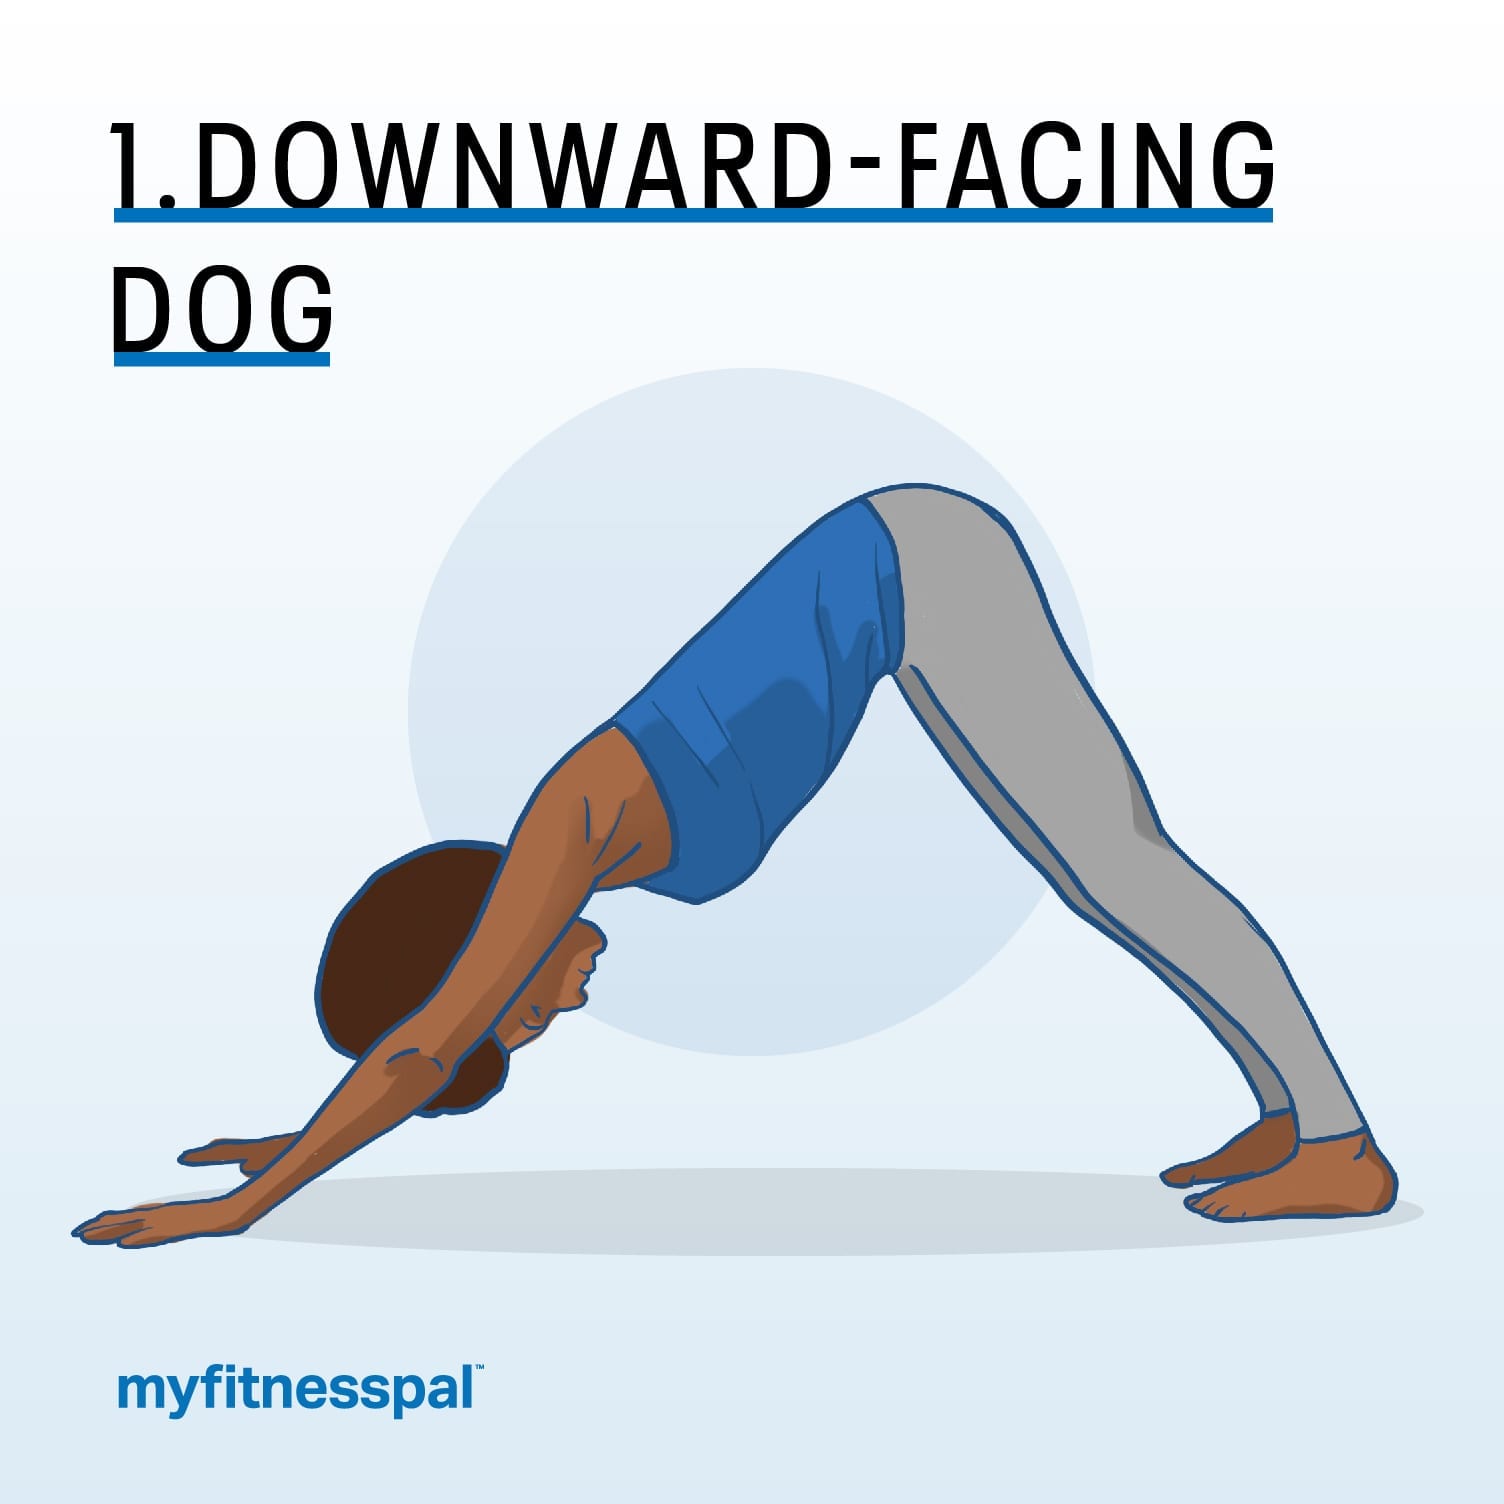
“Although downward-facing dog is considered a basic pose, it is actually quite complex,” Upton says. Often, people find it painful for their hamstrings and shoulders, which is tough, since many classes come back to this pose over and over again. The key to getting it right and minimizing discomfort is to find a balance between the upper and lower body.
- Bend your knees. “Bend your knees and focus on lifting your sit bones up toward the ceiling, then reach them back toward the wall behind you,” Upton advises. “This will help you lengthen the spine and draw weight from the wrists and arms to the legs.
- Use your whole hand. “Notice if your thumb and index fingers are lifted off the ground,” Upton says. “If so, try to create a perfect palm print on the mat by spreading your fingers wide, reaching through your arms, and pressing down evenly with both hands.”
- Turn your upper arms away from your ears. If you do so, your elbow creases should face upward toward your thumbs. “This will broaden your back and engage your arms and shoulders,” Upton notes.
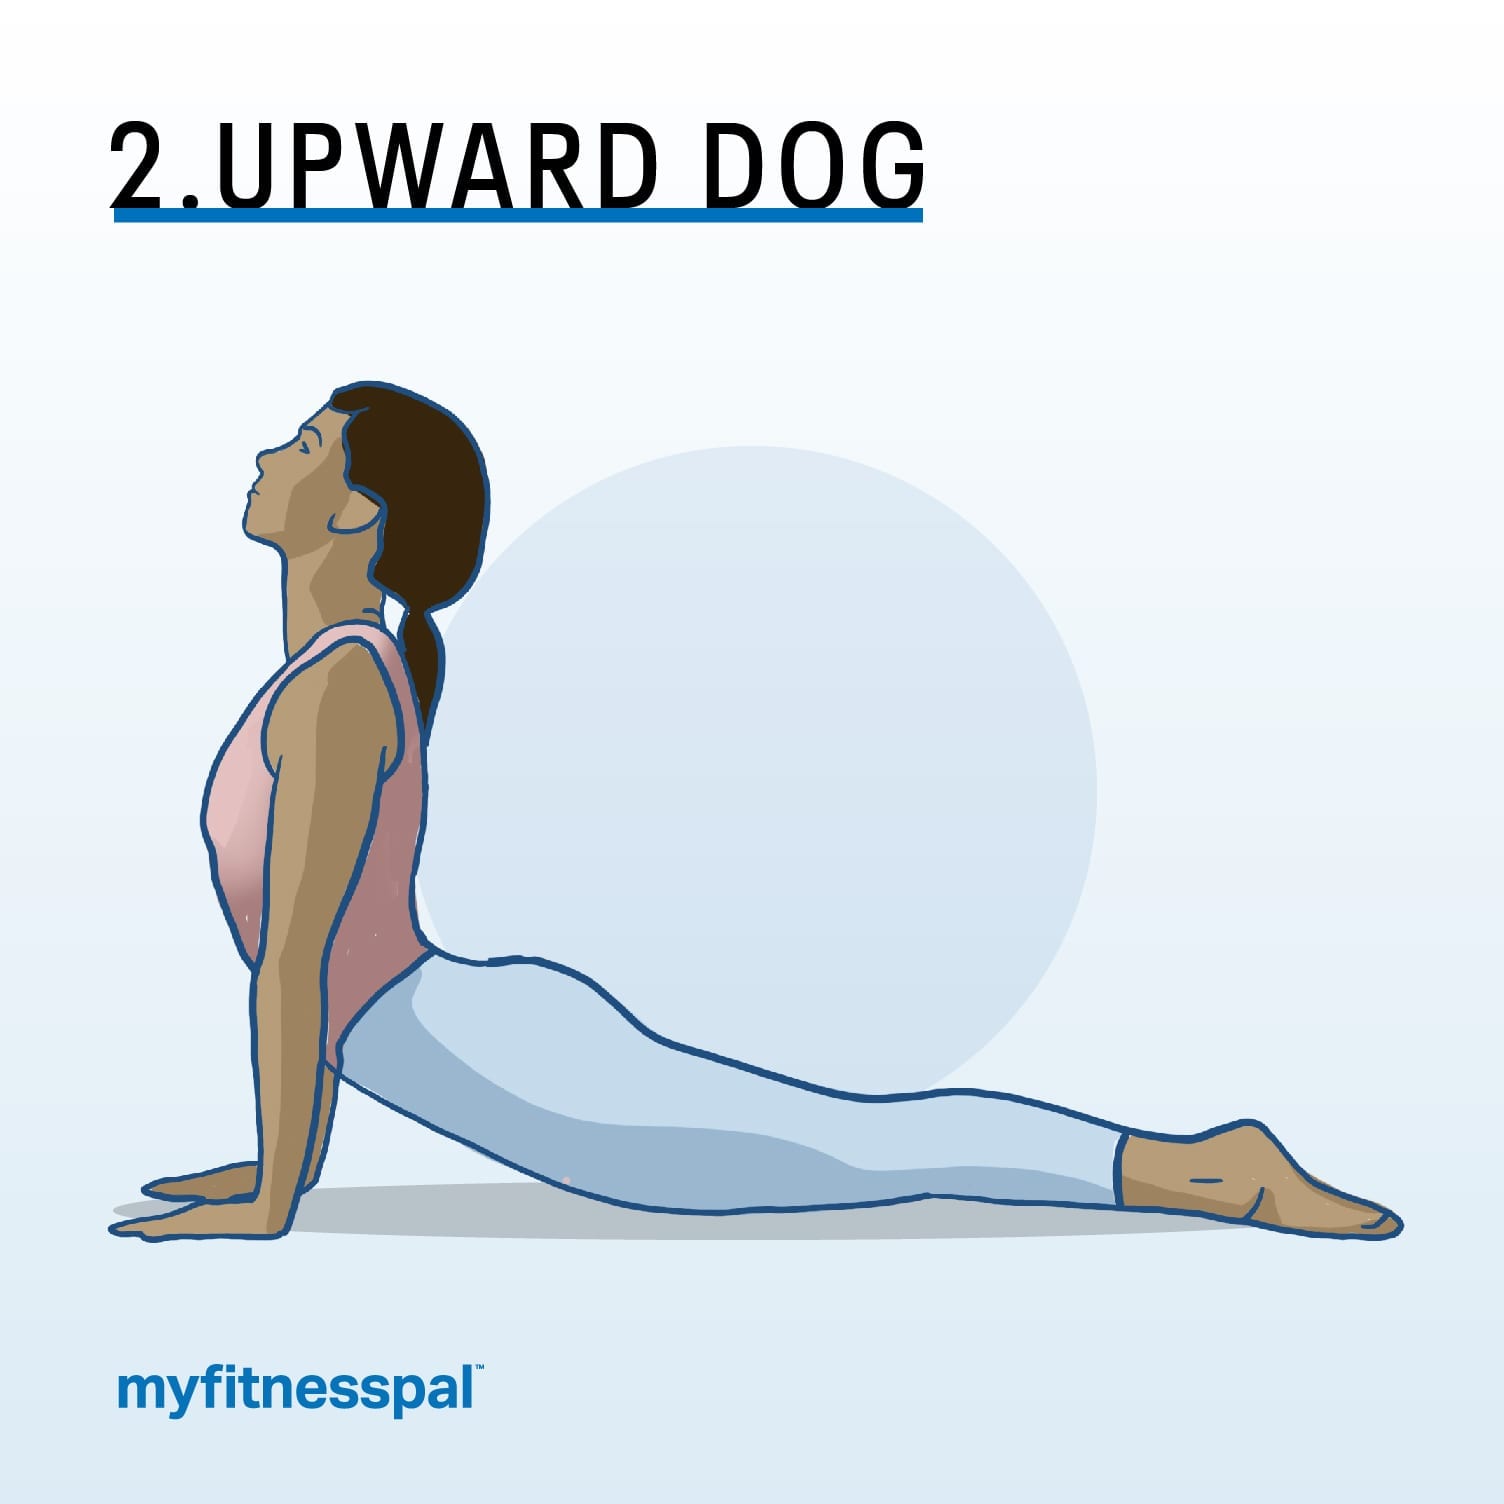
Another pose you’ll commonly practice several times in one yoga session, upward dog can feel tricky. There are a few ways to make it feel a little easier.
- Lift your chest, not your chin. One common cue for this pose is to lift your chest, but many practitioners hear this and instinctively lift their chin instead, says Adrian Cox, a yoga teacher and founder of BreathYoga. Unfortunately, this makes it impossible to fully lift your chest. “As you are coming into an upward dog, cast your eyes down toward the ground, pull your throat back as far as you can so you can lift the chest maximally. Only then tilt the chin back,” Cox advises.
- Keep a little bend in your elbows. “If you completely straighten your arms, the shoulder blades become off-limits for control,” Cox says. “By keeping your elbows bent, you can retract your shoulder blades toward the spine and get a deeper backbend.”
- Press the tops of your feet into the floor. Your shins and knees should lift off the mat as you do this, says Katherine DiMaggio, a registered yoga teacher. “Many people do this pose keeping their legs down on the mat, and there’s much stronger engagement throughout the legs and glutes when the posture is done in its full form.” This means you’ll get bigger physical benefits from the pose, and engaging your glutes also means your low back is protected.
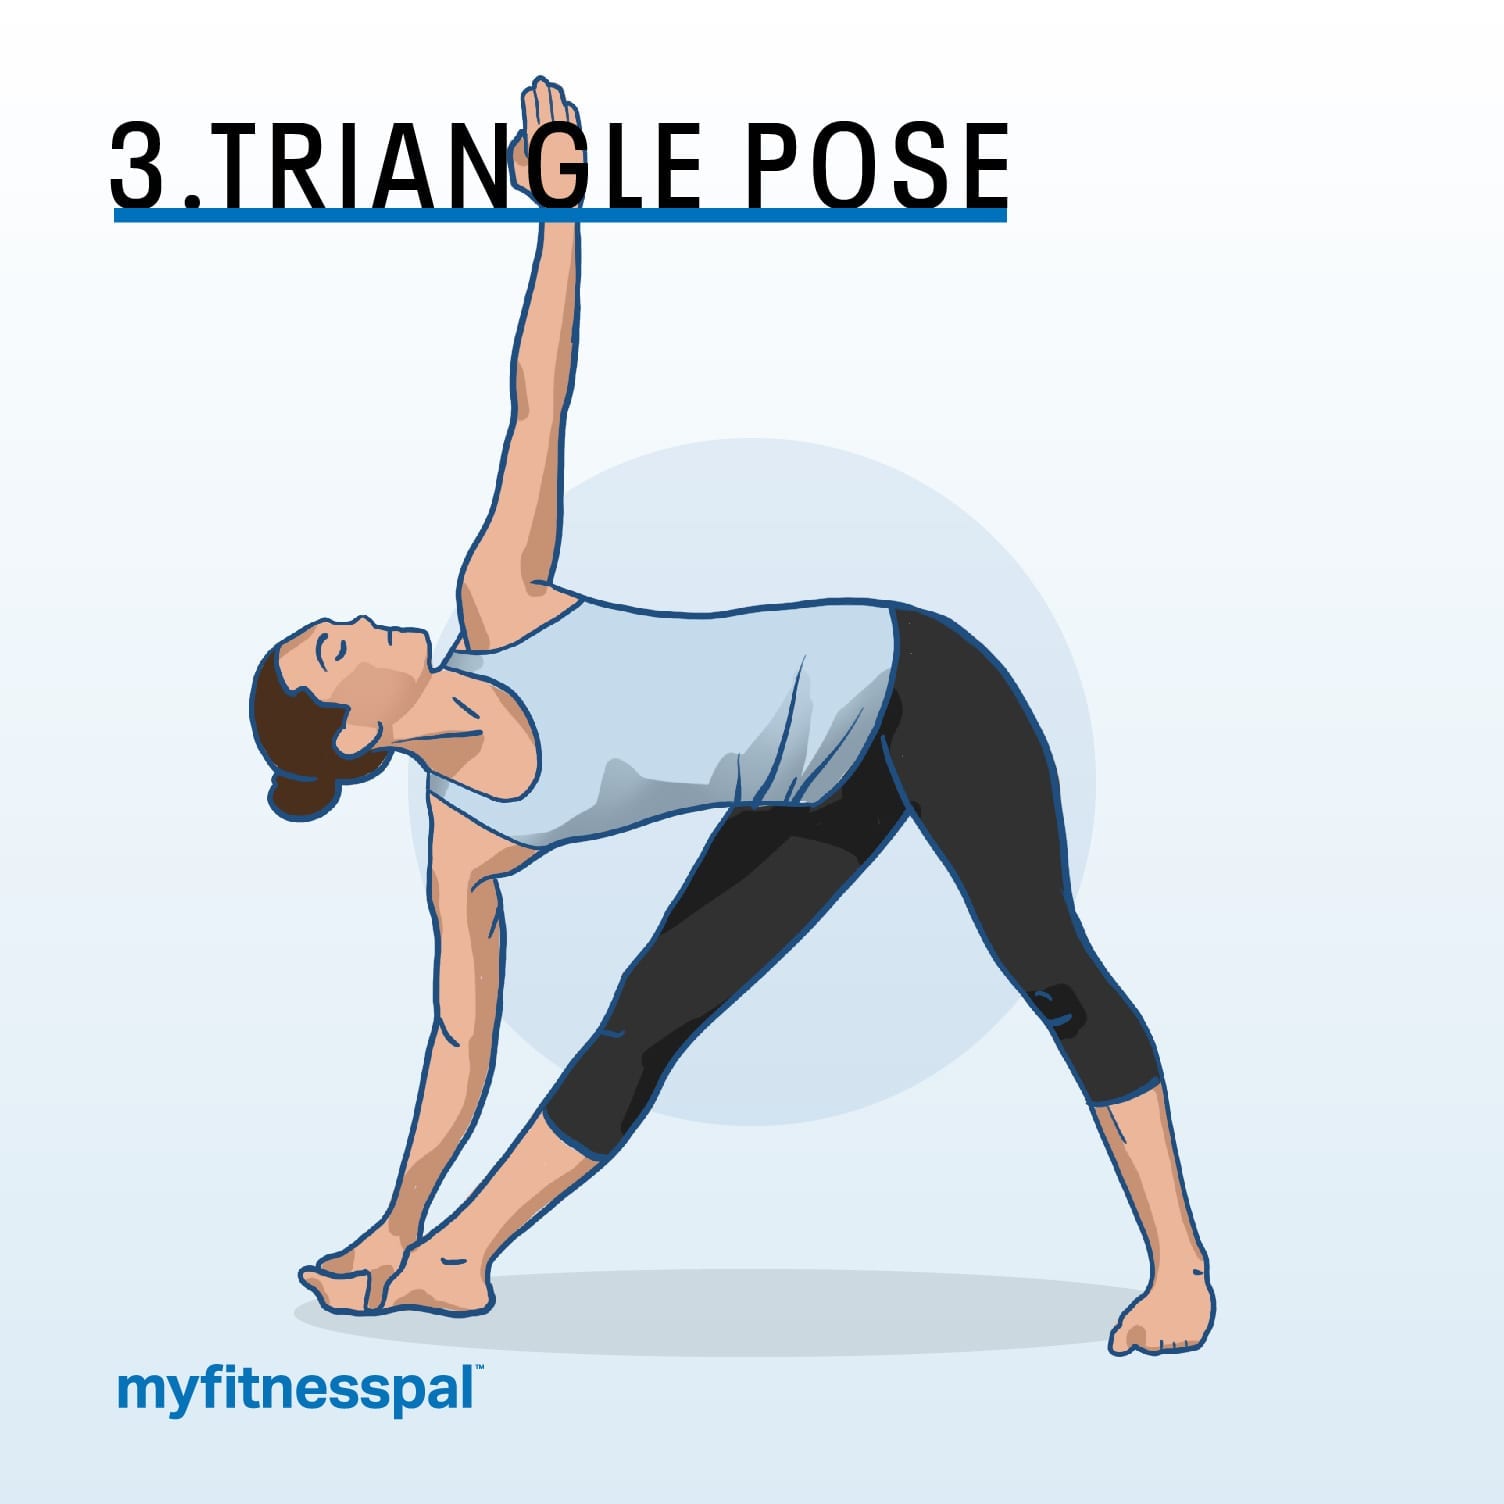
Triangle pose looks simple enough, but many yoga newbies find it uncomfortable and a challenge balance-wise.
- Keep your gaze horizontal. Students are often cued to look up at their top hand in this pose, but Cox says this head and neck position isn’t appropriate for most people. “I would suggest you look horizontally with your eyes and pull your throat back, so the crown of your head lines up with the spine. Then start to rotate the chest — but not the head — toward the sky.”
- Keep your top hand in line with your shoulders. In triangle pose, the goal is to rotate the chest as much as possible. “Most people will attempt to rotate their chest by pushing the top hand back, but this can actually tighten the shoulders and limit mobility.” Cox says. Instead, keep both hands in a direct line with your shoulder blades.
- Micro bend your front knee. This can help with hip misalignment that commonly happens in this pose, DiMaggio says. “Imagine stacking your hips on top of one another (as opposed to the bottom hip popping out) like you’re leaning back on a wall behind you,” DiMaggio explains. Then, firm up your bottom glute to help support yourself.
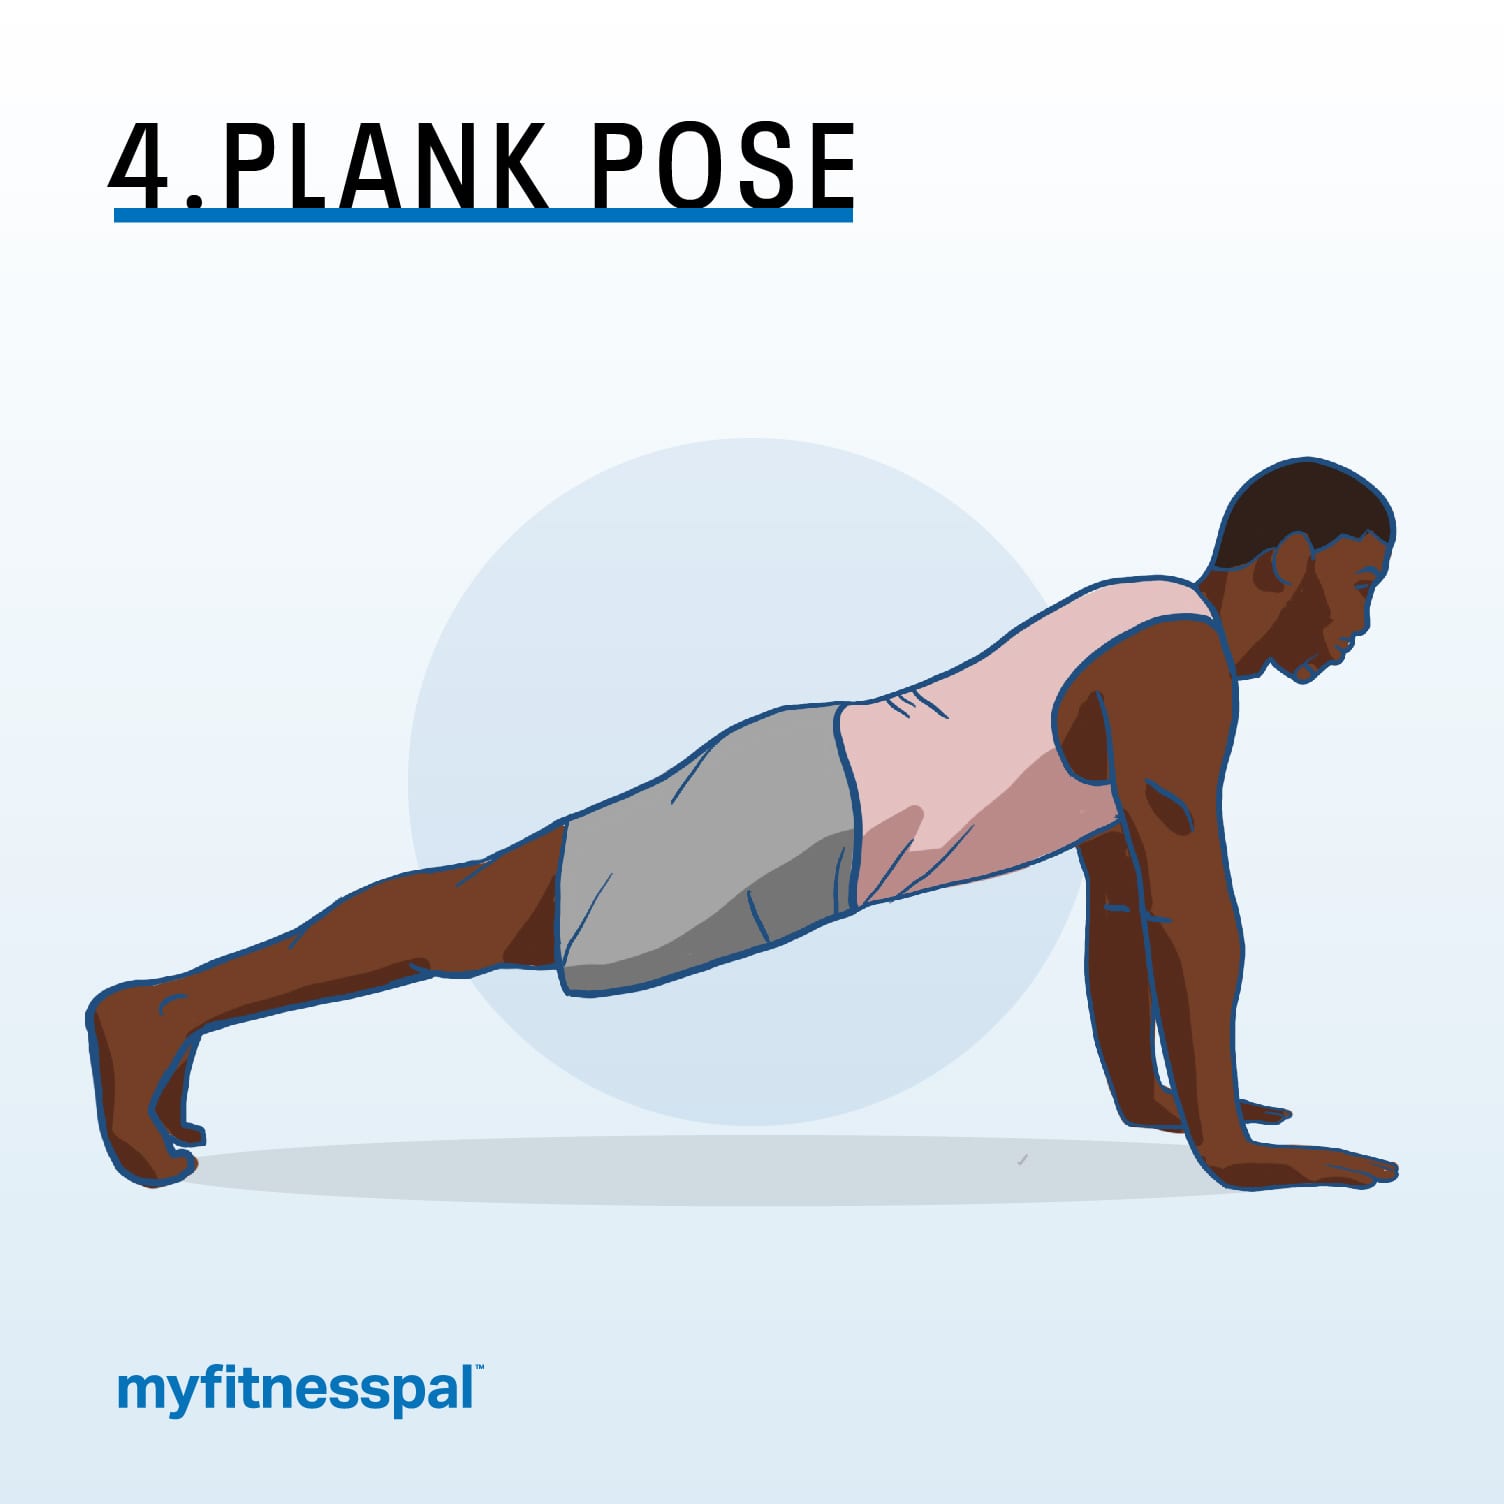
Since many people are familiar with plank already, they assume they know how to do it properly in yoga. But this pose, in particular, is harder than it looks. “Plank pose is a strong posture that takes integrity in the entire body and can be a pose of great difficulty if performed correctly,” notes Michelle Houston, a registered yoga teacher and personal trainer. Small tweaks can make a big difference, though.
- Press the ground away from you. Imagine you’re lifting through your upper back and hugging your shoulders toward your heels all the way from your ears, Houston recommends. This gives you a sturdy foundation.
- Tuck your pelvis slightly. This protects your low back from swaying and helps ensure you’re using your core muscles to maintain the pose. To intensify the effect, imagine drawing your ribs toward your hip bones, Houston advises.
- Balance your weight between feet and hands. Sometimes, people shift their weight toward the back of the mat while in plank pose. Instead, consciously center your heels above the balls of your feet to help even out the weight distribution.
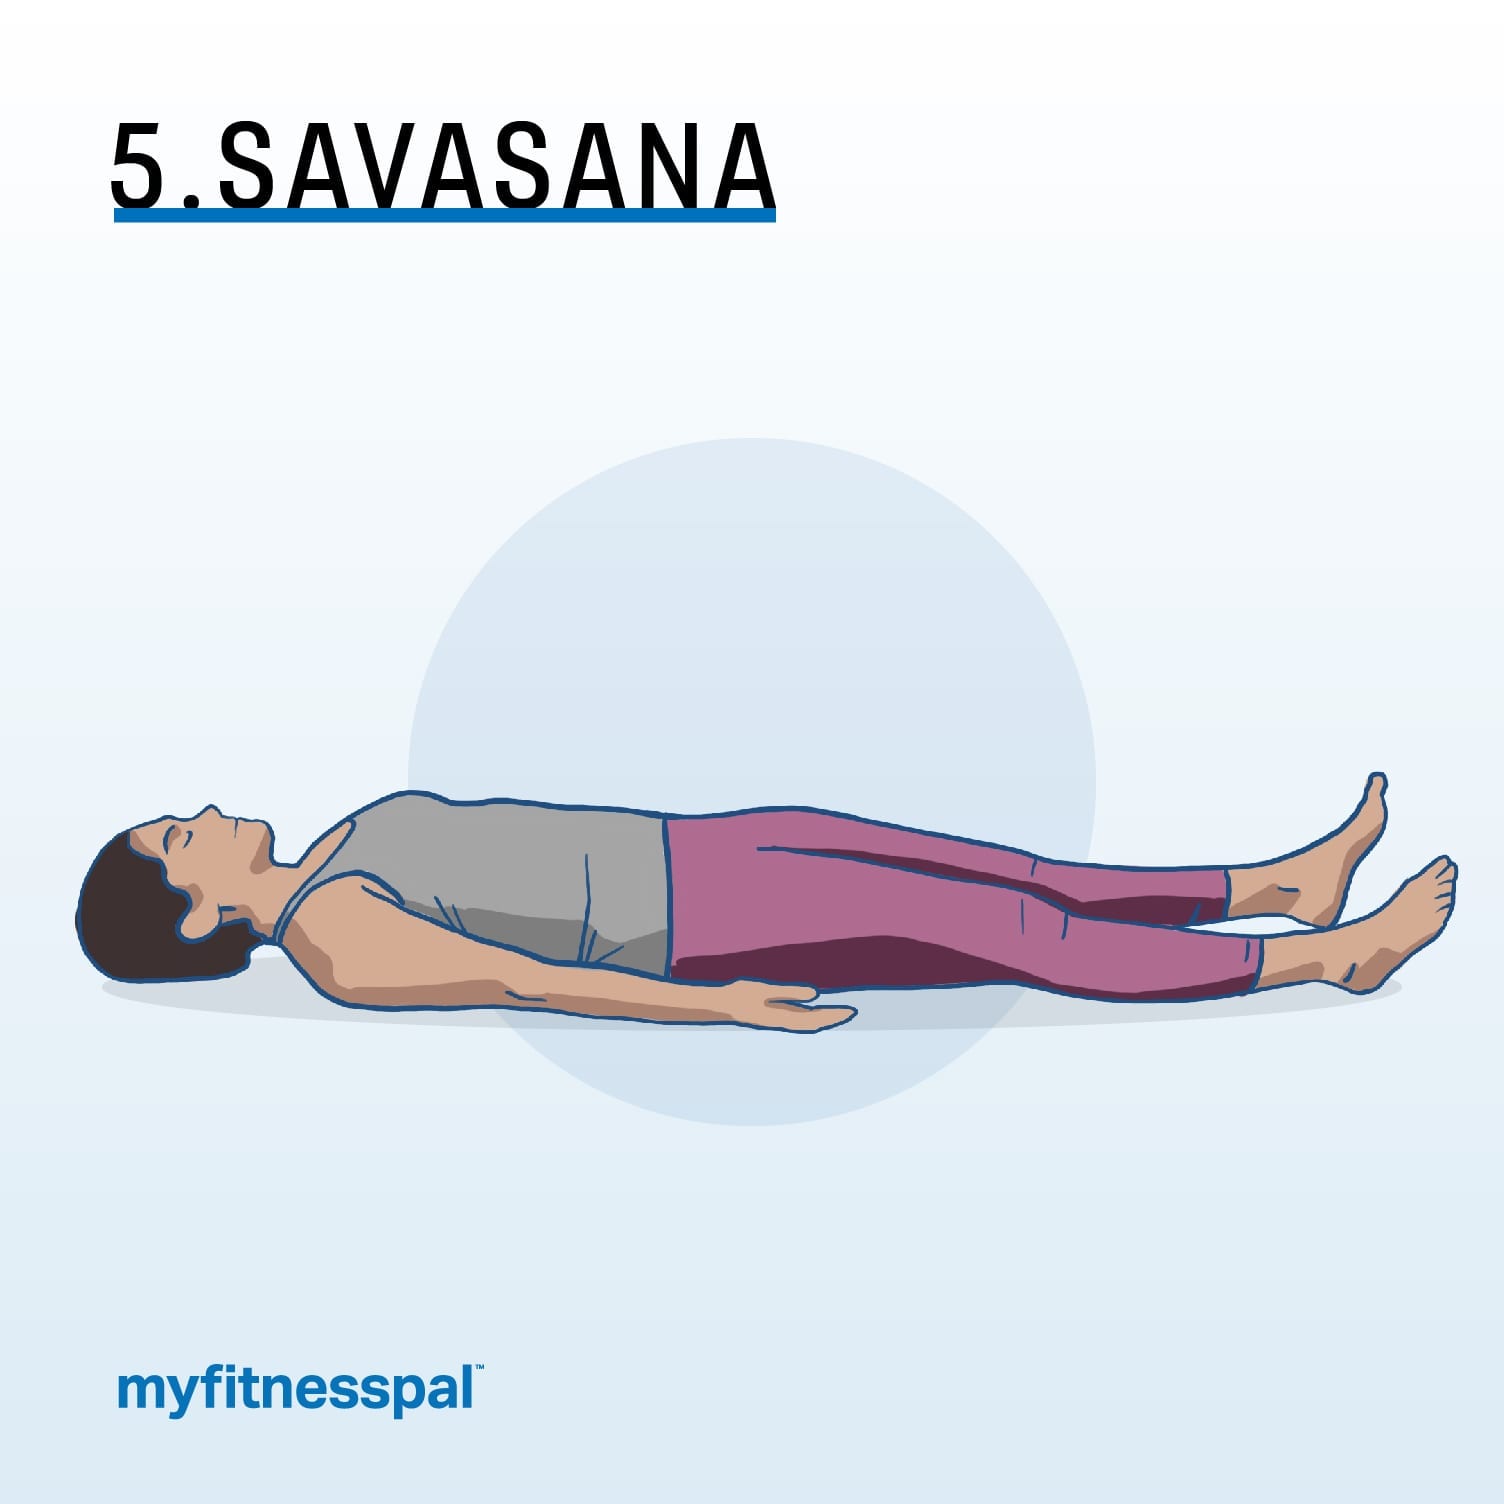
This pose, also known as “corpse pose” is often relegated to five minutes at the end of a yoga practice, Kulkarni points out. But you can get a lot more out of this pose and feel more refreshed and restored by spending more time in it.
- Lengthen your savasana. “I cannot emphasize this enough: There is no savasana to be had in those last 5 minutes,” Kulkarni says. “It takes about 15 minutes at the very least for the heart rate, the breath pace, and the whirring of the modern mind to slow down enough for anything resembling savasana to even enter the scene.” Her recommendation? If you’ve practiced for one hour, aim for a 20-minute savasana.
- Use props. “An eye pillow or a piece of dark-colored cloth over the eyes will shut out light,” Kulkarni says. “This is important because light is a huge stimulant. A rolled up hand towel placed under the neck is a great way to support the neck, or you can place it under the knees to keep the hip flexors relaxed.’
Check out “Workout Routines” in the MyFitnessPal app to discover and log workouts or build your own with exercises that fit your goals.
