
Do you ever find yourself confused during a workout class? You’re not alone—even though it may seem like everyone else knows what the teacher means by, “engage your abs,” and “tuck your pelvis.” Understanding ![]() these, and other common fitness phrases, will help you avoid injuries and get the most out of your exercise routine every time.
these, and other common fitness phrases, will help you avoid injuries and get the most out of your exercise routine every time.
Thankfully, most of them are as simple as they sound. We spoke with a handful of trainers to uncover exactly what these common fitness class phrases actually mean. Get to know them, and you’ll be ready to crush it during your next workout.
1. Engage your abs.
According to Flywheel master instructor Holly Rilinger this is a simple reminder to contract your core. To do it, tighten your abs by pulling your navel in. “Bringing your focus to your center and contracting your abs helps create stability and a foundation for better movement,” she explains. Plus it will help keep you balanced.
2. Tighten your quads in plank.

Maskot / Getty
Planks are great for your core, but when you do them properly they engage way more than just your abs muscles. To master this move, The Fhitting Room instructor Simon Lawson tells us you must first straighten your legs so there is no bend in your knees. Then, tighten the muscles in the upper front part of your legs, he explains. This ensures that you’re engaging the muscles of your legs as well as creating a solid, rigid plank with your body.
Doing this will keep you stable and, according to trainer Thea Murphy of DavidBartonGym. “By tightening your quads, you are allowing all of your lower muscle groups to engage and help hold the weight of your body,” she explains. “If one muscle group is lagging, other muscles will have to work harder.” And planks are already tough enough.
3. Push your shoulders down.
“We carry a lot of stress in our upper body,” says Rilinger. “When you tense up your shoulders it causes you to waste energy.” Keeping your shoulders low is an easy way to conserve that precious energy during tough workouts. And, according to Murphy, it’ll help ward off injury. How do you know if your shoulders are inching upwards? Well, first try raising your shoulders as close to your ears as possible. Now try not to do that during your workout. Instead, think about pushing them down, making your neck as long as possible as well as rolling them back, to help open your chest.
Related: 6 Stretches To Relieve A Tight, Sore Neck
4. Chin up.
Positive mantra connotations aside, keeping your chin up during a workout is essential. Murphy tells us that during most strength workouts you want to have a neutral alignment with your neck. When your chin is “tucked down towards the chest, it puts stress on the neck and does not allow for proper breathing,” she explains. The fix is simple, just lift your chin and aim for a relaxed, straight neck. “You are allowing for easier breathing and proper form,” she adds. If you frequently find yourself short of breath while exercising, this may be just the trick you need. Don’t jut the chin out or force it up, either. The goal here is to keep your spine long and aligned from head to toe.
5. Hinge at your hips.

HeroImages / Getty
Often heard during exercises like good mornings, kettlebell swings, or deadlifts, this technique will ensure the muscles of your posterior chain—which include your calves, hamstrings, and lower back—are getting worked, explains Lawson. To master the hinge movement, start standing and place your hands on top of your hip bones. Before you bend your knees, keep your spine long and push your hips back a few inches so that your butt is sticking out. Then, if you’re doing a squat, start to bend your knees to lower your butt toward the floor. And don’t forget to keep your weight in your heels!
Related: 50 Amazing Butt Exercises
6. Root through the ground.
Though you may be a master of all things downward dog, this common cue isn’t quite as clear. According to New York City based yoga instructor Lauren Taus, when it comes to following this instruction, it’s all about your mentality. “When you hear your teacher say this, they are asking you to be mindful of any body part that’s making contact with the ground,” she explains. By consciously activating your muscles at the base, she explains that you’re, “creating the structural integrity to grow tall, grounded, and secure in your practice.”
7. Tuck your pelvis.
This is something you’ve probably heard in all your classes, and for good reason. Murphy explains that this technique helps engage abdominal muscles and protect the lower back from pain or injury. Check your form by “placing your hands on your waist, and practice a neutral stance. Then lift the belly in and up to tuck the tailbone,” Taus says. This way your pelvis is directly under your torso.
8. Stand in neutral position.
“A neutral stance is somewhat of a misnomer since most of our bodies are not fully symmetrical,” explains Taus. But this cue is intended to bring awareness to your alignment—you want to have your joints stacked one on top of the other, she explains.
Related: 10 Yoga Poses For Beginners
To do this in mountain pose—a standing position that focuses on alignment—she explains that you simply, “stack the joints by aligning ears over shoulders over hips over knees and finally over ankles,” to the best of your ability. Nailing this technique will help solidify your yoga practice. “When you move into more advanced shapes like handstand, you’re simply flipping the geometry and finding a clean, stacked line,” she says.
9. Square your hips.
Klaus Vedfelt / Getty
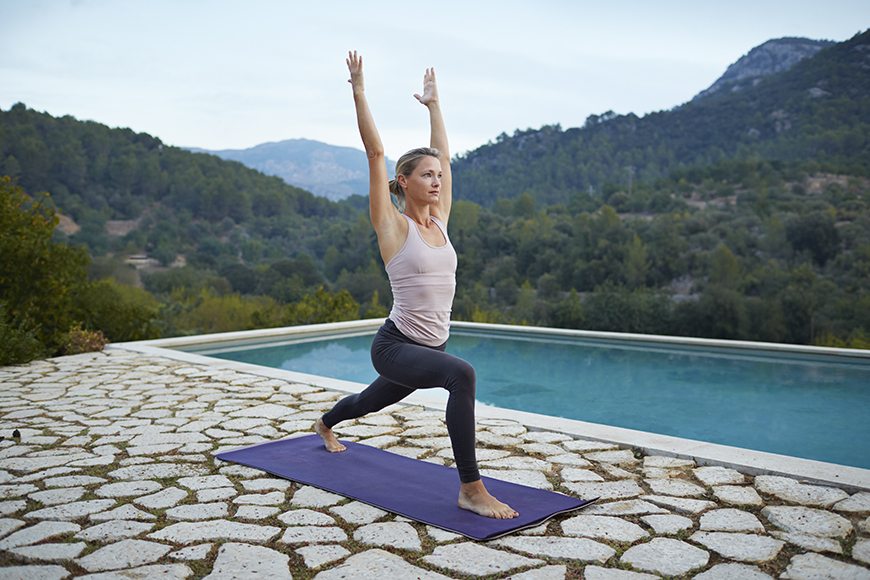
Squaring your hips is a common phrase you hear during yoga class, and it’s simply another way to cue a neutral stance. Taus says it’s when “you can place your hands on your hips and make sure that BOTH hip points are pointing straight ahead of you.”
During Warrior I and III poses, when square hips are especially difficult to maintain, she advises all yogis to, “bring your hands to your waist and make sure that both hip bones are pointing in the same direction like parallel lines.”
—By Audrey Bruno


