Whether you’re into walking, running or cycling, there are plenty of supplementary exercises and extra things you can do to improve athletic performance. There are few, however, that can beat a regular foam-rolling routine. A whole lot of anecdotal evidence from athletes has long suggested this, but recent research proves definitively that foam rolling can have a positive effect on performance.
A study published in the journal Medicine & Science in Sports and Exercise had 20 men split into 2 groups. One did a tough squat regimen followed by a foam-rolling routine to target the muscles used in the squat exercises, and the other group did only the squat routine.
After 5 sessions of these protocols, researchers discovered that the group that used foam rollers after the squat session experienced reduced muscle soreness, increased range of motion in the quads and improved vertical leap performance.
While you might not be doing squats, this study demonstrates the positive effect that foam rolling can have on athletic performance. What’s more, it can also help fend off potential injuries.
“The foam roller is a no-brainer for maintenance,” says CJ Hitz, a running coach based in Colorado Springs. “It helps keep various knots and hot spots at a minimum as we put miles on the body. If those get neglected, they can become muscle strains due to tightness. Rolling can also encourage blood flow to problem areas.”
The Downlow on Foam Rolling
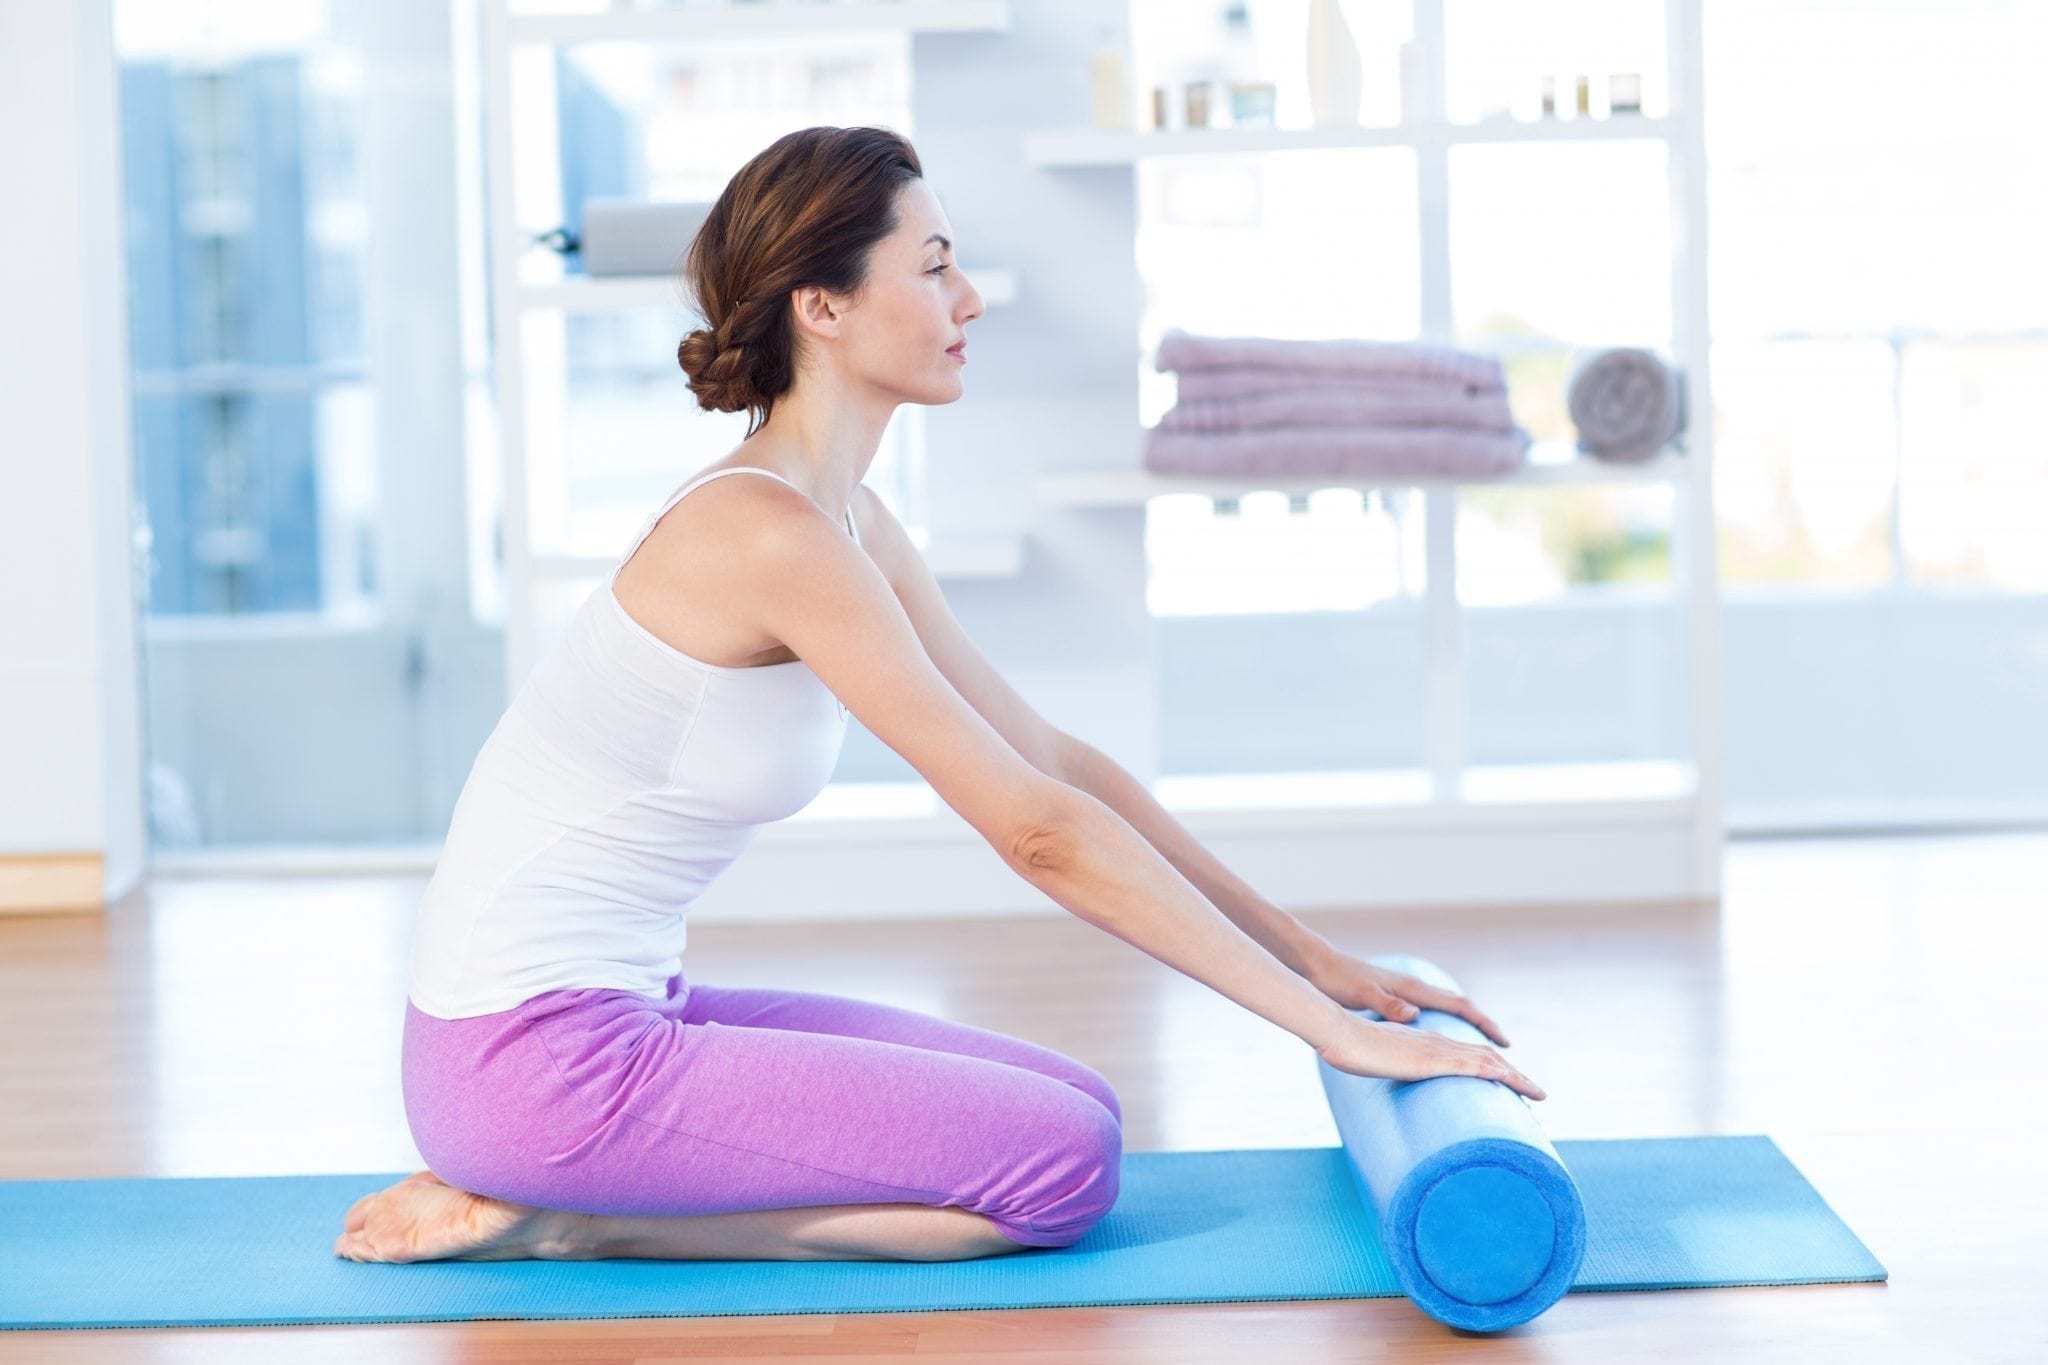
There are a wide variety of types of foam rollers on the market today. Most are around 6 inches in diameter, and they come in various lengths and densities. Whether you choose a traditional foam roller or something with more bells and whistles, the protocol is the same. It’s all about targeting the muscles you use most during any given activity.
Be sure to avoid rolling over any bones or joints; this is strictly a soft tissue exercise. Also, be careful to distinguish between soreness after a workout and an impending injury. “An injury pain will continue to linger and be sharper in nature,” explains Hitz. “On one hand, rolling an injured area could allow more blood flow, which leads to faster healing. On the other hand, the area could become more irritated with the pressure of rolling.”
In terms of frequency, Hitz recommends using the foam roller at least once a day if you’re relatively active. “Rolling after a run is helpful while the muscles are warmed up,” he says. “If you’re doing more than 1 run or bike ride per day, you may find you need to roll twice a day for maintenance.”
A foam-rolling session shouldn’t take much longer than 10 minutes. While it can hurt so good, try to relax and don’t rush through the routine. Taking the time to slowly roll out those knots and restore blood flow to the tissues requires some patience, but it’s well worth the effort.
5 Areas to Roll
1. Calves. Sit on the floor with your legs out in front of you; place the foam roller under one calf, with the other leg crossed over the top of the leg touching the foam roller. With both hands on the ground, raise your backside off the ground and try to isolate the middle, inside and outside of the calves by slowly rolling over your lower leg. Repeat 3–5 times and switch legs. “We store a lot of stress and tightness in our calves due to constant use,” says Hitz. “I like to roll up and down 2–3 times in each of those areas.”
2. Hamstrings. The hamstrings are one of the most injury-prone muscles for athletes of every ilk, so it’s important to keep them healthy. Sitting on the floor again, bring the roller up under your hamstring. Hitz recommends rolling 2–3 times along the inside, middle and outside of this muscle in the same way you did with the calves. “Since the hamstring is a bigger muscle, you won’t feel as much detail as [in] the calves,” explains Hitz.
3. Quadriceps. This exercise requires you to lie on your stomach, putting both quads atop the roller at the same time. Roll this muscle 6–8 times. “Begin at the top near the groin, and work down to above the knee before slowly going back the other direction,” says Hitz.
4. IT Band. The IT Band runs from the side of your knee up to your hip along the outside of your thigh. “This is often the most painful area to foam roll due to tightness and sensitivity,” says Hitz. “In the beginning, I recommend really using your arms to prop yourself up in order to take some weight off while rolling up and down.” Lie on your side, put the roller just below your hip, and roll down to above your knee. Repeat this 6–8 times.
5. Lower Back. This is a great exercise for anyone suffering from lower-back soreness, especially cyclists. “Lie down, place the foam roller just above your sacrum, and slowly work the roller up the back, trying to get the muscles on each side of the spine,” instructs Hitz. “This will mean going up and down each side a couple of times.”


