Thanks to its many physical and mental benefits, there’s no doubt yoga deserves a place in any well-rounded fitness routine. While yoga instructors are great at providing cues to help newbies and more advanced yogis alike deepen their practices, there are certain form issues they don’t always have time to address during class. That said, there are some very simple adjustments you can make to your practice to truly get the most from it.
Here’s what top yoga teachers recommend keeping in mind next time you hit the mat:
BREATHE
It sounds so simple, but it can make a huge difference. “If you’re distracted or pushing too hard in your practice, you may forget to breathe,” notes Teresa Kay-Aba Kennedy, a wellness coach and yoga teacher. “Breath is central to yoga and helps you remain present in the practice. It helps you literally move energy and go more effectively in and out of postures.” In other words, remembering to breathe can make even the toughest poses feel just a little bit easier. “If a student is getting a bit flushed or losing her breath, I’ll prompt her to ease up, tune back into breath and go at her own pace,” Kennedy adds.
DO DOWN DOG FROM THE FLOOR UP
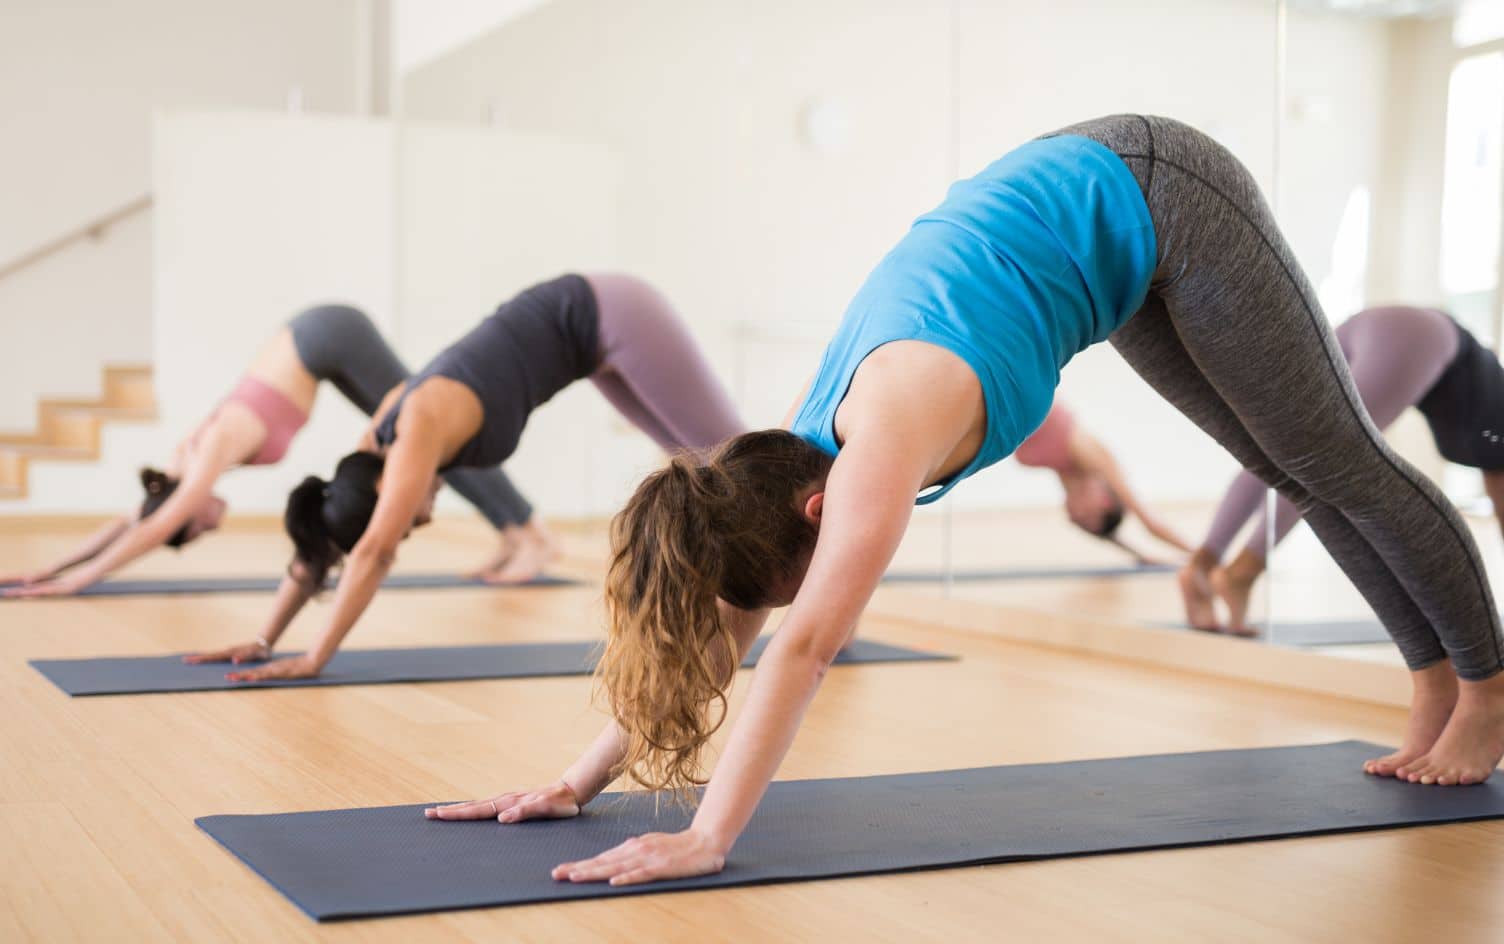
“I teach vinyasa, and we do a lot of downward facing dog, so I see a lot of people uncomfortable or hurting their wrists in this pose,” explains Megan Schmidt, a health coach and yoga instructor.
To avoid discomfort, she recommends getting your hands and feet grounded properly. “Spread your fingers and toes and ground down through your index finger mounds and take the weight out of your pinky side of your hand.” It’s almost like you want your hands to be suctioned to the mat, she says. “Moving to the feet, ground down through your big toe mounds and slightly pull your heels apart from each other so you have a slight internal rotation of the legs.”
Once you have this strong foundation, you can get your arms into alignment. “Feel your forearms pull together without moving your hands, you want your arms to be straight. If you have tight shoulders, this may take some time,” Schmidt says. If you’re new to yoga and feel uncomfortable in the position, she recommends getting your hands, feet and arms set as outlined above, then bending your knees to take some weight out of your shoulders, which can help you feel comfortable staying in the pose longer.
TUCK YOUR CHIN
Your cervical spine (aka your neck) is made up of seven joints along a curve. “It is very mobile and can move in all directions, but you should not put undue stress on your neck,” notes Barbara Rotondo, a yoga instructor. “Specifically when doing forward bends, you should tuck your chin as you roll down. I often see people ‘swan dive’ down, arching their back and jutting their chin up and forward as they make their way to the floor. This puts too much stress on the neck when the intention of the pose is a forward bend to flex the spine.” Next time you reach for your feet, remember to tuck your chin.
USE PROPS
“Many times I see students refuse to use props because ‘they can do it on their own.’ Yes you can, but at what price?” asks Rosario Chozas, a yoga instructor.
Lots of people feel using props means they’re not “good” at yoga, but that’s not the case at all. “Props are great for allowing you to find rest in the places you need to so that you can build muscle where you need it,” Chozas explains. “They are also great for allowing you to stay aligned and deepen your stretching. Blocks, straps, pads for your knees — grab all of them. They’ll really help you out and deepen your practice.”
MASTER PIGEON POSE
Half pigeon pose, where you bring one leg in front of you on the mat, bent at the knee, and extend the other straight out behind your body, usually comes toward the end of a yoga class. As it turns out, a lot of people do it wrong.
“Often times, people have been told to put their shin parallel to the front of their mat,” says Katie Ziskind, a yoga teacher and therapist. “This actually torques on the knee joint. The knee that is forward can become injured if that shin is parallel to the front of the mat.” Instead, put your shin diagonal to the front of the mat. “If you need a deeper stretch, do not push your shin closer to the front of your mat, but instead remain in the pose for 10 breaths for a longer hold.” The intensity of the pose will increase with each breath you remain there, and you’ll be keeping your joints safe at the same time.


